|
| Author |
Message |
jerryotis
Member
|
# Posted: 24 Oct 2017 22:56
Reply
Our new cabin had nearly 80 years worth of accumulation within. Nothing bad, just clutter. It took me a weekend to clear everything out. It was a bit melancholy, clearing out one family's items, imagining all the joy over the years. We are comforted in knowing that it will bring decades more joy to our family.
Once it was empty I began the inspection. There is a screened in sleeping porch on the back the length of the cabin. I envisioned closing it in and making that the sleeping quarters.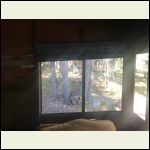
sleeping porch 1
| 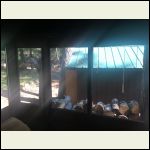
sleeping porch 2
| 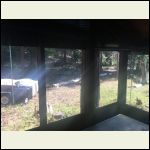
sleeping porch 3
| 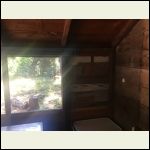
sleeping porch 4
|
|
|
jerryotis
Member
|
# Posted: 24 Oct 2017 23:03
Reply
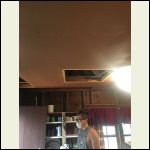
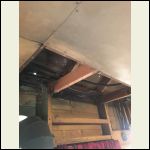
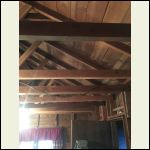
The main room had a Masonite ceiling hung from the bottom chords of the rafters. It was not tight at the walls as the walls are bare studs, leaving a 3 1/2" gap all around. It didn't really serve any purpose so my son and I took it down. But not before finding a beautiful six foot long two man Diston crosscut saw in near perfect condition, and a 24" bow saw in the rafters!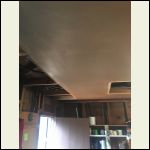
429.JPG
| 
430.JPG
| 
431.JPG
| 
432.JPG
|
|
|
jerryotis
Member
|
# Posted: 24 Oct 2017 23:12
Reply
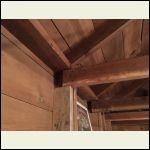
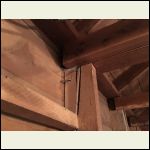
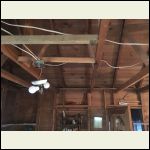
With the ceiling removed, I discovered some shaky framing, repairs, and damage. The bottom chords did not sit on the top plate but were nailed to the studs below the plate. I suspect they were installed sometime after construction just to carry the ceiling.
I also found that there had apparently been a tree that had fallen on the roof (later confirmed by a neighbor). It had pushed the ridge down over two inches and spread the front and rear walls out about three inches. Someone had added some bracing and scabbed on some blocks to secure everything in place.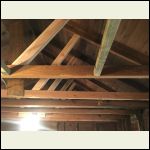
434.JPG
| 
449.JPG
| 
450.JPG
| 
437.JPG
|
|
|
jerryotis
Member
|
# Posted: 24 Oct 2017 23:16
Reply
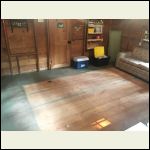
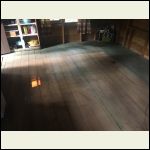
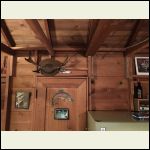
At this point I decided to clear the whole place out and make the proper repairs. After all, we want it to last generations more!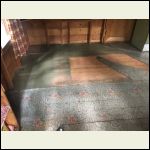
439.JPG
| 
440.JPG
| 
441.JPG
| 
447.JPG
|
|
|
fiftyfifty
Member
|
# Posted: 25 Oct 2017 12:54
Reply
Very cool. You are going to be so glad you did this!
|
|
DaveBell
Moderator
|
# Posted: 25 Oct 2017 17:29 - Edited by: DaveBell
Reply
Jerry, what is the length and width of the cabin?
If its around 12 feet wide, you might be able to remove the chords, squeeze the walls back, and put in 2x6 rafter ties.
I wish everyone would provide enough pictures like this.
|
|
toyota_mdt_tech
Member
|
# Posted: 25 Oct 2017 22:09
Reply
Yes, those rafters on the top plate, secured to the side of the rafters, this will tighten it all up, keep those walls from spreading and give you a taller ceiling to boot. I think doing it the way you are was a great idea. You can upgrade wiring if it needs it also, add more to your liking, fix any water damage and then when its all done, insulate and cover the inside walls and ceiling in a nice tongue and groove bead board or something like that would make it so cool looking. Nice work, keep us all posted.
|
|
jerryotis
Member
|
# Posted: 25 Oct 2017 23:46
Reply
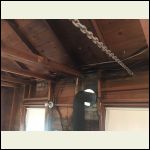
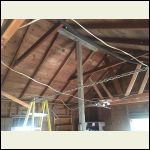
The cabin is 14 by 18. This is what I did to correct the bowed out walls and sagging ridge beam.
After clearing everything out and drawing string lines along both bowed out walls, I built a tee out of 4x4's where the crossbar at the top was long enough to span the three middle rafters and a post long enough to nearly reach the floor. I then slipped a hydraulic jack under it.
Next came drilling three holes about 4 feet apart just below the top plate. I had previously attached a 2x6 on the outside of each wall. After inserting 3/8" eye bolts thru the holes, I attached two come alongs and a chain with a binder in order to pull the front and rear walls in.
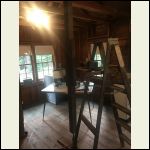
so, the process became, jack the ridge beam up and then crank the come alongs in, measure wall spread and ridge height, and then repeat. I removed the bottom chords completely in order to allow the walls to move back in. After a few rounds of this the ridge beam was back up where it belonged and the walls were nearly back to plumb. It will never be absolutely plumb again but it's within an inch now.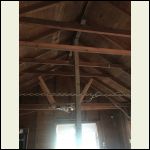
Cabin17.jpg
| 
Cabin12.jpg
| 
Cabin15.jpg
| 
Cabin14.jpg
|
|
|
|
jerryotis
Member
|
# Posted: 25 Oct 2017 23:55
Reply
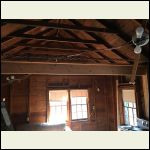
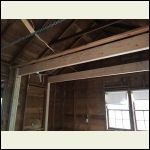
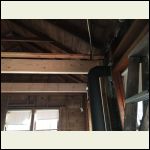
With everything holding steady, I cut 9' collar ties out the old bottom chords and nailed them to the rafters, locking everything in place.
I was sure that everything would stay put but I thought about putting one 2x6 across that would set on the top plate and help hold everything. Then I thought, why not make a couple beams and create a sleeping loft! The beams would absolutely tie everything in and we would pick up more sleeping space. It also will provide a spot to place our water storage tank.
Jump in the truck, run to town, pick up 4 16' 2x10's to laminate and make beams that would span the 14' 2" distance between the walls and be strong enough to support the loft floor and people!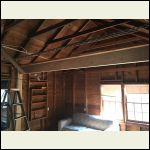
Cabin18.jpg
| 
Cabin19.jpg
| 
Cabin20.jpg
| 
Cabin21.jpg
|
|
|
DaveBell
Moderator
|
# Posted: 26 Oct 2017 00:31
Reply
Very Nice.
|
|
hattie
Member
|
# Posted: 26 Oct 2017 13:35
Reply
It's nice to see you are fixing it right! How old is the cabin? It looks beautiful! Will be a real gem when you are all done.
|
|
jerryotis
Member
|
# Posted: 27 Oct 2017 00:18
Reply
When I moved a pantry cabinet, I found the children's height measurements and dates starting in April of 1935, so it's at least 82 years old.
|
|
jerryotis
Member
|
# Posted: 27 Oct 2017 00:39
Reply
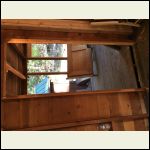
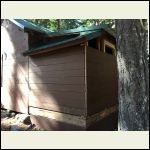
With the majority of the main room framing and repairs done it was time to move on to the sleeping porch. As you can see in the previous pictures, it was shiplap up about four courses, 3 feet of screen and then shiplap to the top. I needed to close it in by adding shiplap to replace the screen, add some windows, and relocate the original back door.
Shiplap in our area is very hard to find so I bought 1x8 pine and milled it myself in my woodshop. I then prestained it as well. I enlisted the help of a good friend and started to work.
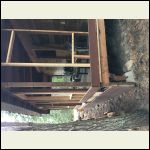
I realized that the siding on the porch was half a course off line from the main cabin. call me anal or ocd but I wanted it to have a nice continuous line, so we stripped all the porch siding off and started from the bottom up!
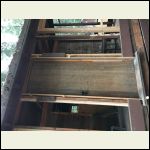
Reframing was pretty simple, three windows to match the main room windows (which I will build in my shop also) and moving the door to it's proper location.
Then we started putting g siding back on. It was difficult to line up with the existing siding since there were varying widths of siding boards, so some adjustments had to be made but overall it came out pretty well.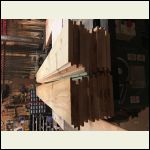
Photo_Oct_12_6_34_5.jpg
| 
Photo_Oct_14_1_01_4.jpg
| 
Photo_Oct_14_5_23_2.jpg
| 
Photo_Oct_14_5_23_3.jpg
|
|
|
jerryotis
Member
|
# Posted: 27 Oct 2017 00:42
Reply
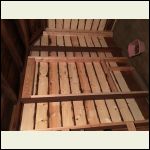
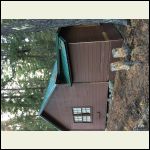
More porch pics not sure why the above pics are rotated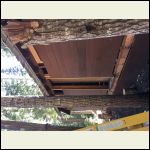
Photo_Oct_15_1_14_1.jpg
| 
Photo_Oct_15_1_14_3.jpg
| 
Photo_Oct_15_4_57_3.jpg
| 
Photo_Oct_15_5_08_1.jpg
|
|
|
jerryotis
Member
|
# Posted: 27 Oct 2017 00:43
Reply
Anyone know why my pics are rotating when I upload them?
|
|
Bexeler
Member
|
# Posted: 27 Oct 2017 19:42
Reply
Your cabin looks great!
|
|
Wilbour
Member
|
# Posted: 27 Oct 2017 21:47
Reply
Quoting: jerryotis Anyone know why my pics are rotating when I upload them?
I'm speculating here but did you take the photos with a cellphone and was that cellphone sideways?
I believe that the phone uses the gyroscope built in to determine how the photo was captured so that it's not sideways when viewing on the phone. Problem is that it doesn't rotate the photo just tag it with a rotational note.
Unfortunately the computer doesn't recognize that tag and displays them sideways, the way you captured them.
That is unless I'm wrong, just ask my wife if that's ever happened before.
|
|
Wilbour
Member
|
# Posted: 27 Oct 2017 21:50
Reply
Stole this from How to geek dot com:
How to Fix Image Rotation for Older Programs
If this is a problem for you–especially on Windows 7–you can also use JPEG Autorotate, which uses the jhead command in the background. This tool adds a quick right-click “Autorotate all JPEGs in folder†option to Windows Explorer. Select it and the tool will examine all photos in a folder, automatically rotating them according to their Exif Orientation tags and then removing those tags. Use this tool when you import images and Windows 7 and other applications won’t have a problem with them.
|
|
DaveBell
Moderator
|
# Posted: 28 Oct 2017 08:56
Reply
Jerry,
Did u do anything different between the first 24 pictures and the next 8?
|
|
|

