| . 1 . 2 . >> |
| Author |
Message |
GomerPile
Member
|
# Posted: 3 Aug 2012 09:19 - Edited by: GomerPile
Reply
I'm building the Bodega model from Tumbleweed. The septic system is just going in today.
Latest Blog Post:
https://bodegabuild.wordpress.com/
Pic of the day: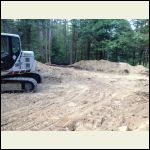
photo11.JPG
| 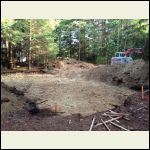
photo_42.JPG
| 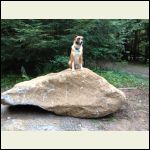
photo_32.JPG
| 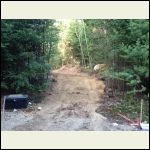
photo_25.JPG
|
|
|
CabinBuilder
Admin
|
# Posted: 3 Aug 2012 11:07
Reply
GomerPile
Please post your pictures and comments in the thread instead of just a link to the blog.
|
|
GomerPile
Member
|
# Posted: 3 Aug 2012 18:23 - Edited by: GomerPile
Reply
More activity today:
I stood on top of the big dirt pile and took this panorama...the interactive view is here.
|
|
GomerPile
Member
|
# Posted: 7 Aug 2012 09:27 - Edited by: GomerPile
Reply
Septic complete, next step slab.
Latest panorama here: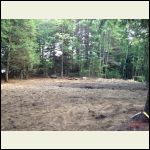
photo_1.jpg
| 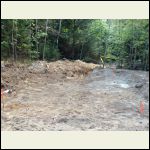
photo_2.jpg
| 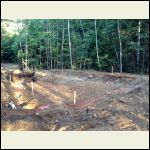
photo_3.JPG
| 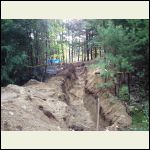
photo_4.JPG
|
|
|
GomerPile
Member
|
# Posted: 13 Aug 2012 10:02 - Edited by: GomerPile
Reply
Weekend update:
http://bodegabuild.wordpress.com/2012/08/13/bodega-weekend-update/
Got my water line installed and the base layer for the slab about 95%.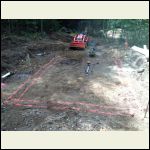
photo_31.JPG
| 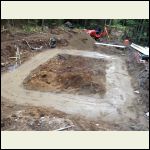
photo_41.JPG
| 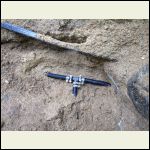
photo_11.JPG
| 
photo_21.JPG
|
|
|
neb
Member
|
# Posted: 13 Aug 2012 22:59
Reply
Looking good.
|
|
GomerPile
Member
|
# Posted: 16 Aug 2012 14:05
Reply
Got the bottom of my slab forms built and sitting in place. I can now see the low spots that I need to fill in.
https://bodegabuild.wordpress.com/2012/08/16/tonights-work-session/
|
|
GomerPile
Member
|
# Posted: 20 Aug 2012 09:56
Reply
Finished up the outside forms for my slab this weekend.
https://bodegabuild.wordpress.com/2012/08/20/completed-slab-forms/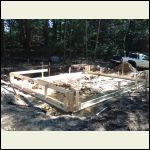
photo_11.JPG
| 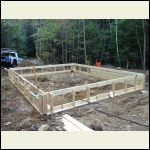
photo_21.JPG
| 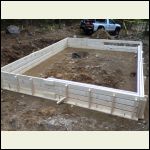
photo_31.JPG
| 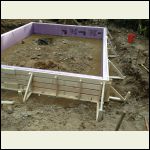
photo_2.JPG
|
|
|
|
GomerPile
Member
|
# Posted: 27 Aug 2012 14:02
Reply
https://bodegabuild.wordpress.com/2012/08/27/frost-protetected-slab-detail-work/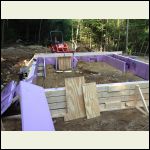
photo_11.JPG
| 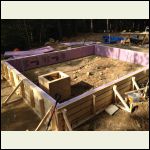
photo_2.JPG
| 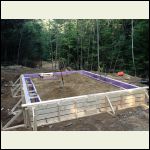
photo_31.JPG
| 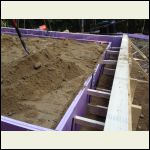
photo_41.JPG
|
|
|
GomerPile
Member
|
# Posted: 4 Sep 2012 16:12
Reply
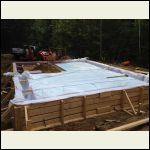
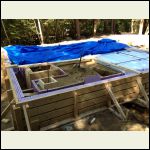
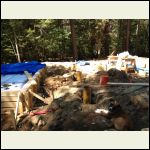
https://bodegabuild.wordpress.com/2012/09/04/holiday-update/
Getting closer to concrete truck day....just need a plumber....do they ever return calls?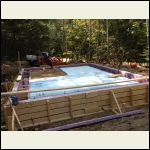
IMG_3204.JPG
| 
IMG_3209.JPG
| 
IMG_3222.JPG
| 
IMG_3221.JPG
|
|
|
GomerPile
Member
|
# Posted: 14 Sep 2012 11:37
Reply
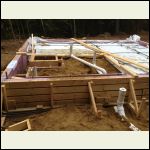
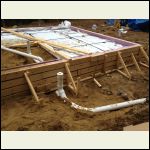
My plumbing under the slab is in!
https://bodegabuild.wordpress.com/2012/09/14/underslab-plumbing/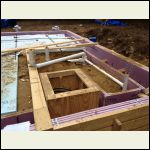
IMG_3237.JPG
| 
IMG_3236.JPG
| 
IMG_3235.JPG
|  |
|
|
GomerPile
Member
|
# Posted: 17 Sep 2012 09:56
Reply
Slab is ready to pour. Plumbing inspection passed, just need one more from the building inspector. Another poster did a video of his place and has inspired me to start doing videos. I think you get more detail from a video, and since we're all here to learn: http://youtu.be/Bz-ELaGH0Mo
Weekend Blog Post
https://bodegabuild.wordpress.com/2012/09/17/bodega-slab-ready-to-pour/
|
|
GomerPile
Member
|
# Posted: 24 Sep 2012 09:59 - Edited by: GomerPile
Reply
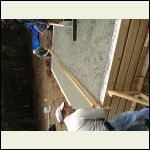
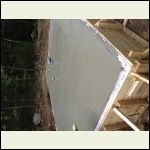
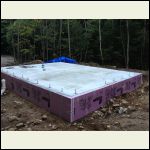
Slab, Check!
https://bodegabuild.wordpress.com/2012/09/24/the-bodega-has-a-new-slab/
IMG_3256.JPG
| 
IMG_3259.JPG
| 
IMG_3278.JPG
| 
IMG_3291.JPG
|
|
|
GomerPile
Member
|
# Posted: 15 Oct 2012 11:36
Reply
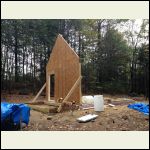
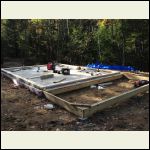
One wall up....I wish it would stop raining every 2 days!
http://bodegabuild.wordpress.com/2012/10/15/three-day-weekend/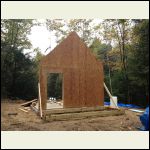
IMG_3335.JPG
| 
IMG_3334.JPG
| 
IMG_3328.JPG
|  |
|
|
toyota_mdt_tech
Member
|
# Posted: 15 Oct 2012 13:24 - Edited by: toyota_mdt_tech
Reply
I have never seen a foundation done like that. Interesting. What is the reason for it like that. Really curious now. 
|
|
GomerPile
Member
|
# Posted: 15 Oct 2012 14:09 - Edited by: GomerPile
Reply
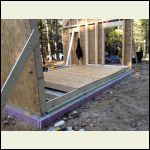
Its a shallow frost protected slab. The Foam insulation on the outside is used to form the concrete, you just need to support it. If you make the supports from 2x6's you can recycle them into the house build wasting little material. It meets building codes and is something that a DIY'er can handle.
The theory is that you insulate the earth so that the ground under the house will not freeze. The foam also diverts surface water away from the house...no water = no frost.
I went back and forth between post and pier and frost protected slab. The slab won, but having done it, I might pick the post and pier. Both have advantages and disavantages. Not sure there is a huge cost difference between the two.
|
|
dstraate
Member
|
# Posted: 15 Oct 2012 15:37
Reply
Great start!
It'll go up in a hurry from there. Are you going to have it all closed up before winter?
|
|
GomerPile
Member
|
# Posted: 15 Oct 2012 15:53
Reply
If I can get some sunny weekends I hope to have it closed in by thanksgiving week.
Quoting: dstraate It'll go up in a hurry from there. Are you going to have it all closed up before winter?
|
|
GomerPile
Member
|
# Posted: 19 Oct 2012 13:21
Reply
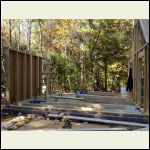
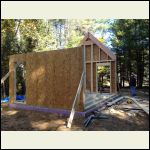
https://bodegabuild.wordpress.com/2012/10/19/three-more-walls/
Now have all 4 walls up....framing is the fun part!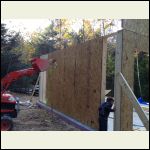
IMG_3345.JPG
| 
IMG_3342.JPG
| 
IMG_3341.JPG
| 
IMG_3340.JPG
|
|
|
GomerPile
Member
|
# Posted: 23 Oct 2012 15:25 - Edited by: GomerPile
Reply
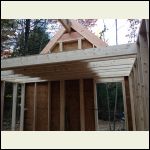
https://bodegabuild.wordpress.com/2012/10/23/loft-floor-and-ridge-beam/
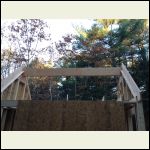
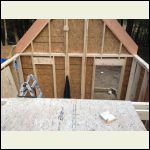
Installed the other gable end and the ridge beam. Ridge beams are heavy!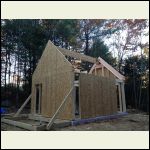
IMG_3358.JPG
| 
IMG_3359.JPG
| 
IMG_3362.JPG
| 
IMG_3352.JPG
|
|
|
neb
Member
|
# Posted: 23 Oct 2012 21:50
Reply
Awesome!!! Very nice setting!!
|
|
GomerPile
Member
|
# Posted: 1 Nov 2012 11:31
Reply
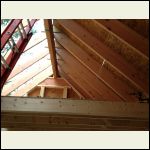
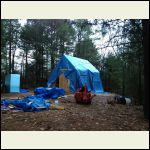
https://bodegabuild.wordpress.com/2012/11/01/rafters-and-roof-sheating/
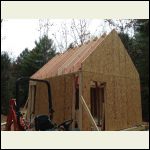
Rafters and a good part of the roof are on. The blue tarp survived the hurricane too!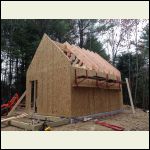
IMG_3363.JPG
| 
IMG_3366.JPG
| 
IMG_3368.JPG
| 
IMG_3369.JPG
|
|
|
TheCabinCalls
Member
|
# Posted: 1 Nov 2012 11:43
Reply
Moving right along! I love that I don't have to pay nearly as much attention to weather as when we were building.
Did you put down a footer for your stem wall? Did you frost protect that? I have seen them add insulation at a 45 degree in this shallow frost footer config. Seems to work nice. We did something similar.
Did you put heat in the slab?
|
|
GomerPile
Member
|
# Posted: 1 Nov 2012 13:13
Reply
The slab was poured directly on compacted gravel. Some pour it over rigid insulation, I chose to keep the outside edge directly on hard ground....the rest is insulated. It is a frost protected slab.
I decided not to heat the slab. This is going to be off grid so I won't be running a furnace, circulation pumps etc. I'm using so much insulation that it should be simple to keep the place warm with a wood stove.
Another issue is that I want to install hardwood flooring which means I need to install strapping (PT) over the slab. The odds of hitting a tube IMO were high.
|
|
GomerPile
Member
|
# Posted: 13 Nov 2012 11:24
Reply
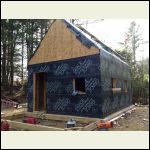
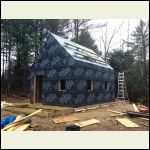
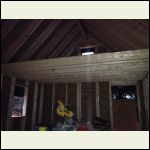
http://bodegabuild.wordpress.com/2012/11/13/air-barrier-installation/
Got the air barrier installed. Next step rigid insulation...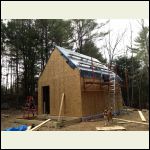
IMG_3384.JPG
| 
IMG_3389.JPG
| 
IMG_3391.JPG
| 
IMG_3394.JPG
|
|
|
stpauligirl
|
# Posted: 13 Nov 2012 21:28
Reply
Looking great, Gomer Pile. I'm watching with interest. I really like the Bodega floor plan. Are you modifyng the floor plan at all? Also, your dog is spectacularly beautiful!
|
|
GomerPile
Member
|
# Posted: 14 Nov 2012 06:12 - Edited by: GomerPile
Reply
I did modify the floor plan a bit. To meet building codes I had to make it one big room. I also moved the kitchen counter so that it shares the plumbing wall with the bath. The framing has also been extensively modified for energy efficiency and to handle snow loads.
His name is AJAX, he came to MA from Alabama. I picked him up a few years ago from the Nashua humane society. He has no idea we are building a house....every weekend he thinks we have a play date where I throw his toy endlessly into the woods 
|
|
TheCabinCalls
Member
|
# Posted: 14 Nov 2012 08:05
Reply
Wow, you are certainly doing things right. I wish buidlers would take the time to insure a place is as tight as yours.
This should make flashing the windows easier too.
Are you doing a non vented roof with foam insulation?
Keep us posted!
|
|
TheCabinCalls
Member
|
# Posted: 14 Nov 2012 08:09
Reply
BTW- if you haven't experienced a truly tight house before get ready for a really nice surprise. We stay at our cabin and wish our house was as tight. There are no drafts, no cold spots and we can heat it with a tiny bit of heat. Our heat costs for the whole year were equal to one month at our house.
You shouldn't lose heat to the earth and your shell looks tight enough to hold heat nicely too. Great job!
We should be building every house and office with this in mind.
|
|
GomerPile
Member
|
# Posted: 14 Nov 2012 09:27
Reply
I have heard that from others as well....my last house was a "chinkless" (read leaky) log cabin and I can't wait to be in a place that stays warm (or cold).
The latest thinking from the green building people is to seal the house from the roof space but leave a small air gap between the foam and roof sheating. This gap gets soffit and ridge vents. Typically they use a 2x4 laid in its side, I will be using a 3/4" piece of strapping....like the walls.
My original thinking was not to vent it at all since its a shady spot and so small. It turns out that the 3/4 inch gap provides a convenient way for me to attach the overhangs and soffits so I'm going with it.
Quoting: TheCabinCalls BTW- if you haven't experienced a truly tight house before get ready for a really nice surprise. We stay at our cabin and wish our house was as tight. There are no drafts, no cold spots and we can heat it with a tiny bit of heat. Our heat costs for the whole year were equal to one month at our house.
|
|
| . 1 . 2 . >> |

