| << . 1 . 2 . 3 . 4 . |
| Author |
Message |
Hangblague
Member
|
# Posted: 19 Aug 2020 10:51 - Edited by: Hangblague
Reply
Thanks for the input. I do hope to get the insulation and siding done before winter. Everything is so slow though.
Last weekend saw me and my dad get the other windows in. I'm nearly ready to begin siding. We had a bear come by to inspect the housewrap and styrofoam behind it with his claws. So that motivates me a bit to keep going.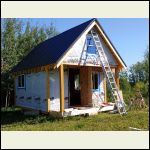
Windows in
| 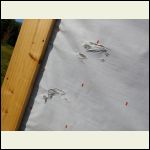
Bear claw marks
| 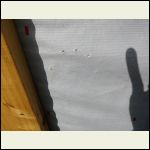
The gentler touch
|  |
|
|
Hangblague
Member
|
# Posted: 19 Aug 2020 11:01
Reply
As for heat, I plan to get a wood stove in someday.
|
|
Hangblague
Member
|
# Posted: 26 Aug 2020 14:52
Reply
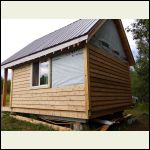
I've been able to steal a few more days on site. Loft flooring, sealing gaps, and beginning the siding (bevelled cedar).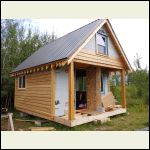
South and West
| 
North and East
|  |  |
|
|
jsahara24
Member
|
# Posted: 26 Aug 2020 15:38
Reply
Looking good!
|
|
Hangblague
Member
|
# Posted: 26 Aug 2020 16:02
Reply
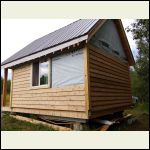
I've been able to steal a few more days on site. Loft flooring, sealing gaps, and beginning the siding (bevelled cedar).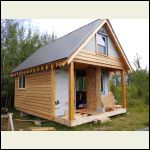
South and West
| 
North and East
|  |  |
|
|
Hangblague
Member
|
# Posted: 26 Aug 2020 16:05
Reply
Thanks! Sorry for inadvertently double posting.
|
|
Hangblague
Member
|
# Posted: 30 Aug 2020 18:59
Reply
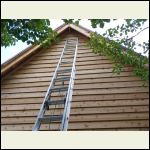
More siding added over the weekend as well as new support under the porch posts. These were not supported by the skids (see drawings, page 1) which was my design flaw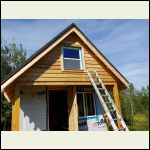
Front gable
| 
Rear side
| 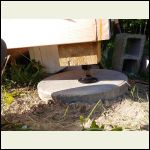
The GH Leveller
|  |
|
|
Hangblague
Member
|
# Posted: 7 Sep 2020 23:08
Reply
Today I went up for a day trip with my middle son. It took us a few hours, but we succeeded in hanging the door. It's a great fit (at least so far). It latches well and snugly with the door stops.
I started this project back several months ago getting the door ready for a cabin that was only a plan at the time. Seeing it installed feels like a nice bookend to the project.
There's still so much to do, some of it thanks to pesky bears.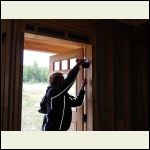
Door installation
| 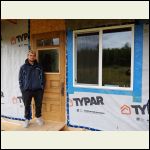
Done door
| 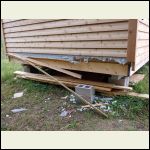
Bear vandalism
|  |
|
|
|
gwindhurst
Member
|
# Posted: 8 Sep 2020 09:07
Reply
Door looks great! To bad about the Bear damage. I've seen bears roaming my property the last few trips but luckily no damage. Do you store any food inside the cabin?
|
|
Hangblague
Member
|
# Posted: 8 Sep 2020 12:56
Reply
No food. I can't figure out if the motivation is just plain curiosity. I'm contemplating "bear unwelcome mats" which I found described on the internet.
|
|
Ol Slim
Member
|
# Posted: 9 Sep 2020 12:56
Reply
I really like the door ! Awesome touch !
|
|
Hangblague
Member
|
# Posted: 12 Apr 2021 14:12 - Edited by: Hangblague
Reply
Thank you!
After a long absence (except for one December firewood expedition), I finally got to the land.
Just a few hours on a Saturday, to get most of the siding on the final wall.
There are many projects that I hope to get to this season:
-Insulation
-Flooring
-Stove & Stovepipe
-Retractable Staircase
-Final siding details
-Eaves & Fascia
-Deck & steps
-Finishing odds & ends
-Well (the old one dried up - too shallow I think).
Those are the main projects.
|
|
Hangblague
Member
|
# Posted: 24 May 2021 17:36
Reply
Flooring is in, with insulated subflooring underneath.
Like other projects, I feel like I just begin to feel like I have the hang of things as I finish.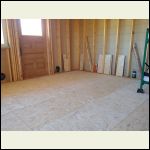
Subfloor
| 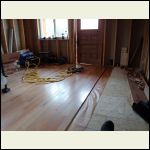
Nearly done
| 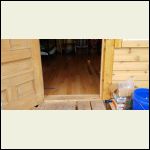
Threshold
|  |
|
|
Hangblague
Member
|
# Posted: 25 May 2021 18:10
Reply
The other thing I got done was readjust the loft boards. They were very green when I got the 1x6 planks. Expecting them to shrink a bit, I screwed them down only here and there. Sure enough, over the winter, there was pretty dramatic shrinkage - nearly an inch and a half total across the 13 feet of boards. They are re-tightened in now.
Next up is to insulate the inside of the South wall and under the loft overhang (those measly 1x6's). I think I'm going to splurge in these areas with spray foam.
I'm also looking forward to get a suitably small wood-stove installed for this tiny cabin. I've chosen the Jotul 602.
|
|
gwindhurst
Member
|
# Posted: 26 May 2021 09:46
Reply
Looks Great! Did you use rigid foam board under subfloor?
|
|
Hangblague
Member
|
# Posted: 26 May 2021 09:51
Reply
Thanks! I used specialized insulated OSB boards. They are 2' x 2' and are sort of interlocking. The rigid insulation is glued on to the OSB. They are only about 3/4" thick and their R value is 3 or less. I think they are mostly marketed for basement use.
So my floor sandwich going from bottom up is joists, 3/4" plywood, thin rigid insulation, thin OSB, vapour barrier, hardwood flooring.
|
|
Hangblague
Member
|
# Posted: 26 Jul 2021 14:05 - Edited by: Hangblague
Reply
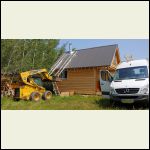
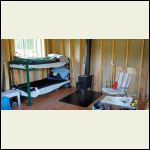
Some good progress made. The front wall (bottom and gable) are now insulated as well as the outside underneath of the loft overhang. (That completes the main insulating.) A Jotul woodstove has been installed. I am beginning to really live in comfort now, and the floor impresses the family.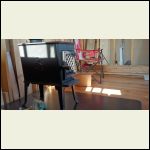
Jotul_Stove.jpg
| 
Chimney_install.jpg
| 
Stove_installed.jpg
| 
Hazelnuts.jpg
|
|
|
Hangblague
Member
|
# Posted: 26 Jul 2021 14:11 - Edited by: Hangblague
Reply
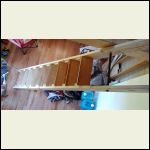
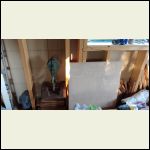
The other bit of development is the retractable, counterweight staircase, which is in its beta version.
I will replace the rope with a cable I think and a railing might be in order someday. The staircase is supported by an iron barbell rod which acts as a hinge as it passes through the stringers at the top.
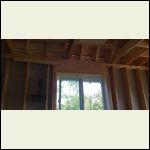
There are three pulleys involved, including a pulley on the weight itself. The friction involved means the weight does not have to be too precise. The staircase stays by itself in any position.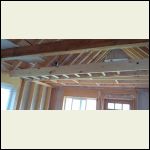
Staircase_retracted..jpg
| 
Staircase_down.jpg
| 
50lb weight & pulley
| 
weight routed around window
|
|
|
jsahara24
Member
|
# Posted: 26 Jul 2021 15:50
Reply
Quoting: Hangblague The other bit of development is the retractable, counterweight staircase, which is in its beta version.
Nice! Looking great...
|
|
Hangblague
Member
|
# Posted: 8 Sep 2021 16:30 - Edited by: Hangblague
Reply
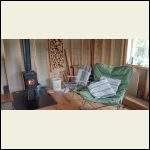
Some more work done. Staircase rope replaced with cable. Chimney hole insulated. Wood holder installed. Siding completed on all sides. Rafter ends given a haircut. Fascia boards installed (I used beveled siding boards since I have extra of those). Next time, I'll replace the porch temporary chipboard decking with 5/4x6 cedar boards and maybe finish the outside of the overhang.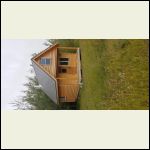
Cabin Exterior
| 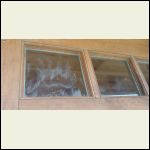
Bear Paw mark 6.5 feet up
| 
Stove and Firewood
| 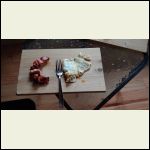
Cedar siding makes a great plate
|
|
|
Hangblague
Member
|
# Posted: 18 Jul 2022 11:17 - Edited by: Hangblague
Reply
I've been out to the cabin a few times this year, including an overnight February adventure with my wife. It took a few hours to get the entire space cozy with the wood stove, but it was a successful trip.
Since the Spring, I've been up a few times, but now I like working at a snail's pace since the pressure is off. The main development is addition of the porch decking. Now it truly looks finished from the outside.
The project I have in mind now is a small solar DC power system for an LED lamp and a charging station for phones.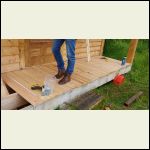
Cedar decking on porch
| 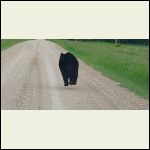
Local bear hightailing it away
| 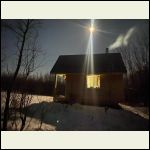
Cabin at night in the Fall
|  |
|
|
BRADISH
Member
|
# Posted: 18 Jul 2022 11:39
Reply
Looks good! I understand about taking it easy once the pressure is off - I definitely am tapping the brakes now that my roof is on.
Do you have it insulated inside yet? Seems like it could be pretty chilly through the winter without that!
|
|
Hangblague
Member
|
# Posted: 18 Jul 2022 12:02 - Edited by: Hangblague
Reply
Thanks! It is insulated all around, but in different ways.
The roof has rigid insulation between the wood decking and the metal outside.
The floor has minimal rubber insulation between the main subfloor and the hardwood surface.
Three walls have rigid insulation between the sheathing and the siding. (I did this because I like using the space between studs for storage, shelving etc. in such a tiny cabin. The front wall, though, has spray foam on the inside, as does the underside of the loft overhang.
|
|
Hangblague
Member
|
# Posted: 24 Jul 2022 11:28 - Edited by: Hangblague
Reply
This past weekend saw the addition of a small simple 12 volt DC system with a small 50 W solar panel. No invertor. The main idea is to charge phones. Panel to charge controller to battery to main switch to voltage monitor to fuse panel to USB and cigarette lighter socket. I plan to add at least one more circuit for an LED light fixture. Cheap and fun.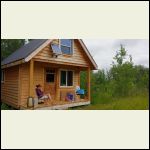
Solar panel mounted
| 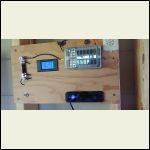
Circuit board
|  |  |
|
|
Hangblague
Member
|
# Posted: 27 Aug 2022 22:09 - Edited by: Hangblague
Reply
The past few weeks have seen the development of a new well beside the cabin. The one described near the beginning of this thread dried out on us, so I thought I would try one more time and go deeper.
I got some help this time from my farmer neighbour and his skid steer. He dug a pit 6' deep to give me a head start and another 6' with his augur.
Subsequently, my son and I dug deeper with the post hole digger (powered by muscle alone). We had to lengthen the tool with pipe extensions as we got deeper.
We quit when the hole at the bottom of the pit reached 14'. That plus 6' of pit and another 4' for the pump to stand above the ground is 24'. I am told that a suction hand pump can't draw higher than 25'.
There is at least 6' of water in the 4" casing that we now have in place. We poured gravel into the hole around the casing to help filter water into the casing that has hacksaw slots cut in near the bottom.
The well pipe and pump will be installed later. First we have to refill the pit.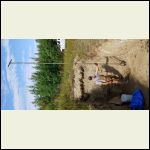
Long tool
| 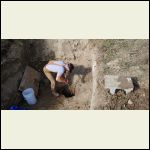
Tool in hole
| 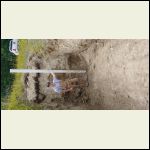
Well casing installed
|  |
|
|
| << . 1 . 2 . 3 . 4 . |

