| . 1 . 2 . 3 . 4 . 5 . 6 . 7 . >> |
| Author |
Message |
Sustainusfarm
Member
|
# Posted: 12 Jun 2012 11:52pm
Reply
Hi All, I have been wanting to do this for a long time...I have already built the cabin but I want to chronicle it from start to finish...I am going to attemp that here...and so it starts...
It all started in 1994 when I got the itch to buy some property "up north". I wanted a place to call my own and I was only 25yrs old at the time so I had limited funds. I started looking and driving around to see what I could find as I had a very vivid picture in my head as to what this land should look like.
Finally after may weekends spent driving around with my grandpa to different areas of Wisconsin I settled on central Wisconsin because of the rolling hills and it was only a 2 hour drive from where I lived. We stumbled upon a very secluded parcel an a beautiful winding hilly gravel road. Did I mention it was not forsale at the time but all the surrounding land was.
I called a friends dad who was an attorney and we approached the land owner with an offer for 10 acres, they said "NO" 13 times to 13 different offers... finally, on the 14th offer they accepted and told us to "leave them alone". Soooo...in May of 1995 I became the proud owner of 10 rolling acres of woods and prairie for a whopping cost of $10,000 ($995/acre)! (Pics to follow in the next post)
First things first..Gotta build and outhouse!
|
|
Sustainusfarm
Member
|
# Posted: 13 Jun 2012 08:42pm
Reply
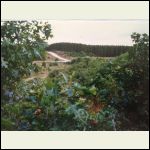
Pics of the property when I first bought it...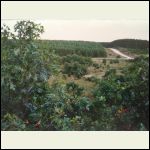
Cabin_Construction_0.jpg
| 
Cabin_Construction_0.jpg
|  |  |
|
|
Sustainusfarm
Member
|
# Posted: 13 Jun 2012 09:32pm
Reply
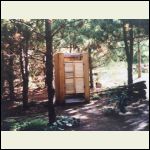
May 5th, 1995 I took ownership of my very own 7 acres of plantation pine and 3 acres of beautiful prairie! First order of business was to talk with the county and find out what I can build without a permit as a cabin. I am thinking a 12x12 with a porch , county says "no" I can only build a 10x10. I asked what other options I have and was told that I could build a minimum of 721 sqft but I would have to get a sanitary permit (outhouse). Time to build an outhouse and start planning for a larger cabin! I got the plans for the outhouse from a book called Cottage Water Systems. I built most of the parts at home in June and moved them up to the land and assembled them in July. Sanitary permit cost $85 and it required that I put a tank in the ground so I bought a 75 gallon rubbermaid water trough, sunk it into the ground and built the outhouse over the top of it. When the inspector came to sign offon it he told me that I built the 2nd best outouse in the county, only beat out by one that had a chadelier in it!
Now I had the sanitary ermit which meant I could approach the county to get a building permit. I arrived at the court house thinking I could just go in and pay the fee and they would give me a permit. I was wrong...they asked me where my plans were.... I told them "up in my head". They got a good laugh at that. I told them that while I was at lunch I drew out what I was going to build on a napkin! He took the napkin and made a copy of it and I started asking what type of foundation he suggested? His exact words were " doesn't much matter as a tornado will probably take it away any how" he then said "looks good" and I left with my $20 permit!! So cabin foundation will go in August/ Sept of 1995 in preparation for the next years cabin raising.
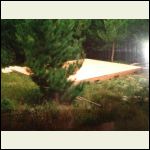
I used 6x6 treated posts 4 ft into the ground and notched to accept the 2x8 rim joists which I bolted to the posts. Once I had the rim joists in I filled in with the 2x8 floor joists on 16" centers. I was worried about fiberglass insulation getting wet over the winter so I opted to use 2 layers of the pink 2" foam board in between the joists then covered the entire thing with 1/2" ply.
I have this thing about mice, I hate them! So to be sure no "rats" or other creepies got under the cabin I completly enclosed the perimeter with treated ply sunk into the ground 2 ft. I then covered the entire floor deck with 6mil poly for the winter to protect it....
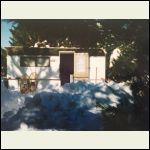
Just before winter we bought an old used trailer that we used as a temporary shelter while building and so I could make a visit or two the first winter.
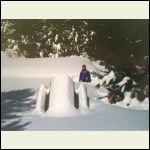
The first winter visit we had to snowshoe in just to get to the trailer...there was 4 ft on the ground! Can't wait til spring!!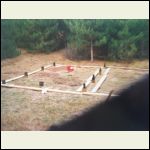
Cabin_Construction_0.jpg
| 
Cabin_Construction_0.jpg
| 
Cabin_Construction_0.jpg
| 
Cabin_Construction_0.jpg
|
|
|
MJW
Member
|
# Posted: 13 Jun 2012 09:56pm
Reply
So what size cabin did you finally build?
|
|
Sustainusfarm
Member
|
# Posted: 13 Jun 2012 10:09pm
Reply
It ended up being 19x24 with a loft that has 2 sleeping spaces...exactly the 721 sqft min required.
|
|
trollbridge
Member
|
# Posted: 16 Jun 2012 11:12am
Reply
Keep going....I am enjoying hearing all about your place! The land is beautiful isn't it??
I remember doing the same thing with our land. We snowmobiled up to it from Solon Springs and got there and the snow was so deep we had to walk in- we had no real reason to go as there was nothing there yet but we just wanted to see it again!!! So exciting!
|
|
Sustainusfarm
Member
|
# Posted: 19 Jun 2012 09:24pm
Reply
Some pics of the outhouse plan and plan of the property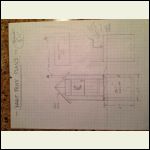
Outhouse plan
| 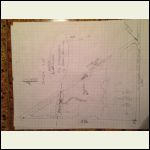
Plan of the property
|  |  |
|
|
Sustainusfarm
Member
|
# Posted: 19 Jun 2012 09:28pm
Reply
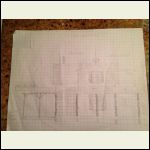
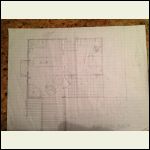
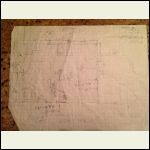
Over the winter of '95/'96 I did alot of planning for the building process and alot of money saving. I ended up designing the cabin myself on a sketch pad....sorry the pics are so bad...I found these original drawings the other day and they are faded quite abit...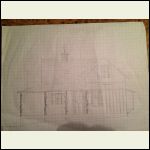
Cabin_ConstructionA_.jpg
| 
Cabin_ConstructionA_.jpg
| 
Cabin_ConstructionA_.jpg
| 
Cabin_ConstructionA_.jpg
|
|
|
|
Sustainusfarm
Member
|
# Posted: 19 Jun 2012 09:43pm
Reply
We spent the summer of 1996 camping on the property and clearing a driveway through the pine trees that covered the property. We thought we would start clearing the ole fashion way with a hatchet....HA...that lasted for the first 150 ft and 30 trees. the nice thing about a hatchet is you chop one tree down then de-limb it and haul it off. When you look back on your work it is nice and clear. We then switched to a chainsaw and it was so easy to cut, cut , cut and before you know it we had gone 100 more feet! Now looking back all we saw was a huge mess to clean up...ugh!
Getting to know the property that first year was great and helped plan the cabin down to the last detail.
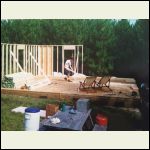
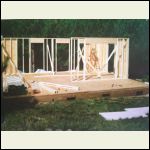
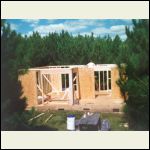
Fall came around and it was time to start the main cabin shell and get it closed in before winter. I hauled the entire load of wood to build with on a 4x8 ft trailer and my small pickup truck. We started in September when the weather was cooler and I sure was glad I had my dad there to help with the entire thing! the first week of building we had mom, dad, my brother, his two little kids and one dog...we camped for the week and finished the entire first floor framing and got the second floor beams in place.
At the end of one of the days, after we got the basic wall structure finished and put up some sheathing I put a chair in the middle of one of the rooms and I just sat....what a feeling it was to sit in a room that I built and I could already picture sitting in front of the woodstove someday soon on a cold winter night.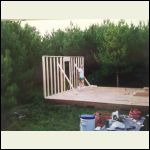
1st wall
| 
partial 2nd wall
| 
wall three
| 
some sheathing
|
|
|
Sustainusfarm
Member
|
# Posted: 19 Jun 2012 09:54pm
Reply
October brought us cooler weather and a time to put up the roof rafters, frame the gable ends, lay subfloor on the upstairs floors and finally put OSB on the roof...I will tell you, I can still remember the feeling of accomplishment when the roof rafters went up! It looked like a cabin! The dream from the paper plan I drew was finally real and I could for the first time get a sense of volume in each of the rooms. I could see how furniture was going to fit and how the bed would fit as well.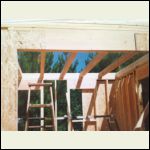
Upstairs floor beams 6x8 fir
| 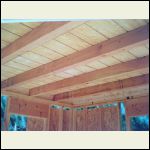
T-111 as ceiling and subfloor
| 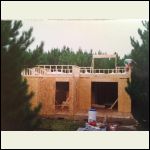
The "small walls" as I call them (knee walls)
| 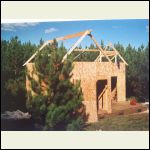
Ridge beams and gable ends
|
|
|
Sustainusfarm
Member
|
# Posted: 20 Jun 2012 08:03pm
Reply
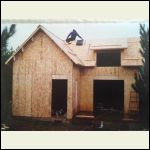
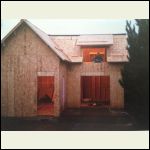
Roof getting its OSB layer... and just as we finished for the weekend it started to rain. We even had time to string a wire with 3 lights ( one upstairs and 2 downstairs) to the generator. Wow....I remember that day...the day we sat inside on a dark, cold, windy and rainy afternoon in relative comfort. What feeling! 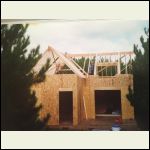
Roof rafters being installed
| 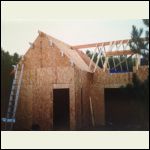
OSB being put on
| 
Finished and sealing the cracks before the rain comes
| 
First electricity!
|
|
|
VTweekender
Member
|
# Posted: 20 Jun 2012 11:08pm - Edited by: VTweekender
Reply
Awesome! congrats and thanks for sharing the whole adventure! Can I ask the height of those 1st floor walls? looks like you put knee walls on second floor?
|
|
Sustainusfarm
Member
|
# Posted: 20 Jun 2012 11:25pm
Reply
First floor walls are regular height... I used regular precut wall studs... Precut studs are 91 1/2" then add the double top plate and single bottom plate for a total of 96". I think that's right... The side walls may look taller because I added a knee wall to raise the roof a bit so I had more head room on the second floor...
|
|
Sustainusfarm
Member
|
# Posted: 21 Jun 2012 06:43pm
Reply
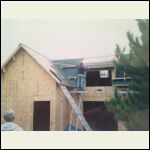
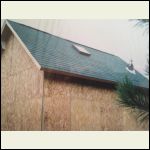
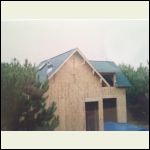
Late October/ Early November I had a friend of a friend come up and put on the roof shingles..I furnished all the materials and got them to the cabin site. The shingle man brought the know how and his tools adn had the entire job done in 3 days! I would normally do this by myself, however the peak was 21 ft off the ground and with a 12/12 roof pitch I did not feel comfortable doing it without all the scaffolding and tools. Plus I would have never had it done in 3 days! It was well worth the $500 bucks I paid him to do the work!
I was able to set the two skylites and the chimney pipe flashing as he was shingling.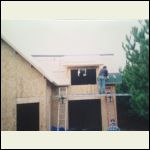
Start of the roofing
| 
Im the picture taker for this part of the build!
| 
Cabin_Construction_1.jpg
| 
Finished
|
|
|
Sustainusfarm
Member
|
# Posted: 21 Jun 2012 06:52pm
Reply
Here are a few shots of the interior just after the roof was finished and we were dry! Finally a place to store extra wood and tools. 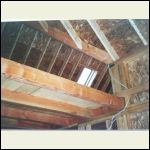
Just inside where the patio doors will be looking up to the loft
| 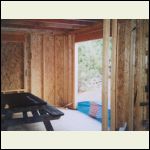
Kitchen area where pocket doors will go out to the sunroom/screen porch
| 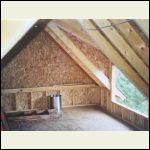
Up in the loft looking at the dormer
| 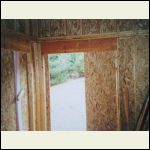
Patio doors will be here eventually
|
|
|
Sustainusfarm
Member
|
# Posted: 21 Jun 2012 07:06pm
Reply
As November was coming to an end I was just trying to get all the openings closed up before the snow came...The snow came and then it melted in early January so I started planning to put up the roof over the sun/screen porch.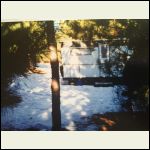
The snow came...then melted by January
|  |  |  |
|
|
Sustainusfarm
Member
|
# Posted: 21 Jun 2012 07:46pm
Reply
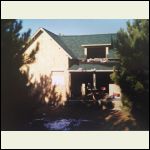
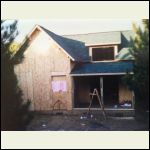
December 1996 I decided that I would put the roof on over the sunroom so the plywood floor, which was covered in plastic, would not get ruined from ice and snow.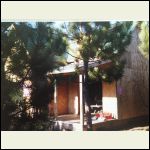
Cabin_Construction_1.jpg
| 
Cabin_Construction_1.jpg
| 
Cabin_Construction_1.jpg
| 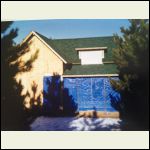
All closed up for winter
|
|
|
Sustainusfarm
Member
|
# Posted: 21 Jun 2012 08:05pm
Reply
January 5th, 1997 I took a weekend to frame in the windows for the sunroom...I bought indoor solid pine french doors from the local Home Owners Bargain Outlet (HOBO)  , for $40.00 each. I caulked each pane of glass and used an outdoor stain to coat each door and protect it from the weather. The plan is to put these french doors in for the winter months and put screen doors in their place for the summer months. , for $40.00 each. I caulked each pane of glass and used an outdoor stain to coat each door and protect it from the weather. The plan is to put these french doors in for the winter months and put screen doors in their place for the summer months.
This was the last project for the winter and I spent the next few cold months planning and ordering windows and doors. I also drew plans and made a materials list for the rest of the wrap around porch.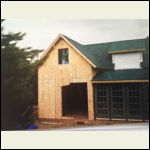
Cabin_Construction_1.jpg
| 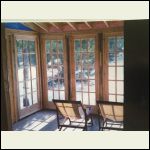
Inside the sunroom looking out the new windows
|  |  |
|
|
Sustainusfarm
Member
|
# Posted: 22 Jun 2012 07:27pm
Reply
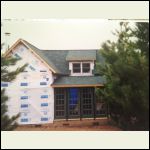
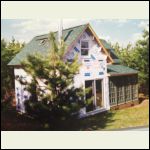
Spring of 1997 I put up the house wrap to protect the OSB exterior adn so I could install windows and doors. Cutting the openings for windows and doors transformed the entire space from dark and shed-like to bright and homey! I wired the interior as if I was puttingin electricity, however I had just recieved a quote from the local utility company that to bring me electric would cost 18,000!!
I opted to wait it out, knowing that eventually someone from Chicago would buy land at the end of the road and pay to have electric at any cost. ( little did I know that this would come true in 2008 and I ended up paying only $1200!!)  I wired the cabin to a typical breaker box and then put an outlet outside to plug in the generator!! I finished with all the windows and doors and sold the camper we were sleeping in, bought a matress and have been sleeping in the loft ever since. In August of 1997 I installed the wood stove and insulation, lighting and ceiling fans and bought the kitchen cabinets. I wired the cabin to a typical breaker box and then put an outlet outside to plug in the generator!! I finished with all the windows and doors and sold the camper we were sleeping in, bought a matress and have been sleeping in the loft ever since. In August of 1997 I installed the wood stove and insulation, lighting and ceiling fans and bought the kitchen cabinets.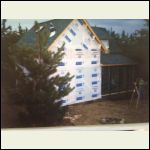
House wrap
| 
New dormer window in!!
| 
Patio doors in!
| 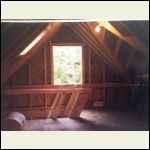
Stair/ladder up to loft and newly cut out window opening
|
|
|
Sustainusfarm
Member
|
# Posted: 22 Jun 2012 07:32pm
Reply
I also built an outdoor shower area this summer...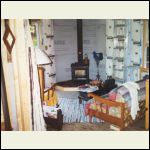
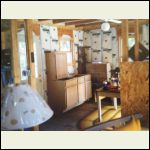
Woodstove and scavenged furniture from parents house
| 
Kitchen. Cabinets not yet installed
| 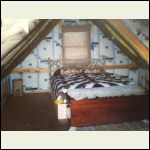
Upstairs bedroom
| 
Outdoor shower
|
|
|
johng
Member
|
# Posted: 22 Jun 2012 08:52pm
Reply
how's that walk to the shower room through all that snow? 
|
|
Sustainusfarm
Member
|
# Posted: 22 Jun 2012 09:38pm
Reply
Who needs a shower in the winter!!?? Not me...
|
|
johng
Member
|
# Posted: 22 Jun 2012 10:34pm
Reply
No kiddin! That's why they make those little pine tree shaped freshners.
Seriously (and jealously) love the build though. 
|
|
neb
Member
|
# Posted: 23 Jun 2012 09:45pm
Reply
Man that looks good!!!
|
|
Sustainusfarm
Member
|
# Posted: 24 Jun 2012 05:50pm
Reply
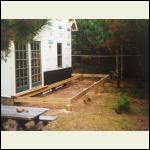
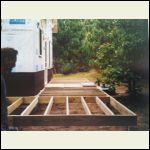
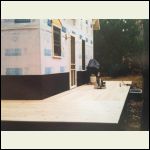
1998- Started building the wrap around porch....I started by drilling the holes for each 6x6 suppoert...They go down 4 ft deep and are tamped into place to prevent them from settling. Added the rim joists and filled in with the floor joists...I used all pressure treated lumber for the superstructure but, for the decking that we would be walking on with bare feet I used clear cedar. That was some nice looking stuff once it was all laid down and what a luxury to be able to walk around the cabin without getting your feet dirty!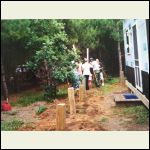
Setting posts for wrap around porch
| 
Cabin_Construction_1.jpg
| 
Cabin_Construction_1.jpg
| 
Cedar decking complete
|
|
|
Sustainusfarm
Member
|
# Posted: 24 Jun 2012 06:14pm
Reply
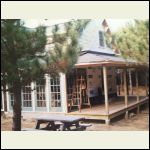
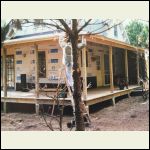
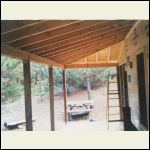
Over the course of the next few months I put up the posts and rafters, then trim and sheathing followed by shingles. Then here is where I started getting lazy and projects started going at a much more leasurely pace!  Time to enjoy a bit and relax....OK..so I did do some projects just no big huge ones and the ones I did I broke down into smaller jobs...I drywalled the kitchen and painted it.... Yawn! Put up a rain barrel...yawn! You get the idea.... Time to enjoy a bit and relax....OK..so I did do some projects just no big huge ones and the ones I did I broke down into smaller jobs...I drywalled the kitchen and painted it.... Yawn! Put up a rain barrel...yawn! You get the idea....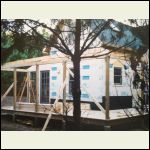
Up go the posts and rafters
| 
Cabin_Construction_1.jpg
| 
Cabin_Construction_1.jpg
| 
Cabin_Construction_1.jpg
|
|
|
Sustainusfarm
Member
|
# Posted: 24 Jun 2012 06:27pm
Reply
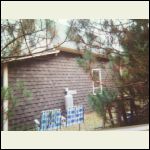
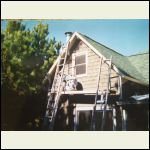
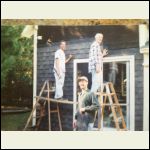
Summer of 2000 was spent siding the cabin...I wanted something simple but I loved the weathered cedar shake look of the east coast. I chose the color "Weatherwood" dimentional shingles made by Corning. Basically asphalt architectual roof shingles...gave me the look, easy to put up in stages, no/low maintainance and will last 50-70 years on a vertical surface!!
It was this year in June that we had a mother of a storm that brought 90 mph winds and softball size hail..the siding on the west wall was all but stripped off and large chunks were taken out of the window ledges and picnic table, all tree baranches 2" thick or smaller were stripped out of trees, 1 1/2" holes were in the roof and horses and llamas in the area were killed by the large hail. I have 2 skylites on the roof and they DID NOT break!!  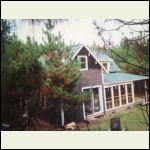
Starting the siding project
| 
Cabin_Construction_1.jpg
| 
Cabin_Construction_1.jpg
| 
Cabin_Construction_1.jpg
|
|
|
Sustainusfarm
Member
|
# Posted: 24 Jun 2012 06:42pm - Edited by: Sustainusfarm
Reply
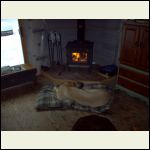
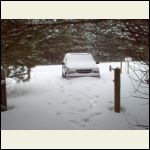
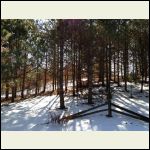
2001 brought me the love of my life!! And things really slowed down...we spent alot of time at the cabin and sometimes stretching a weekend into more than a week! We bathed in a nearby clear stream, swam in the local quarry and sunbathed with the amish at their swimming hole....We started cooking and eating things other than hotdogs and hamburgers and making fancy meals with wine and after dinner drinks...the cabin was great before with family and friends but now with another to share it with on a regular basis was the absolute best! We started planning paint colors, buying furniture and kitchenware. We did all of this off grid with only a generator turned on when needed at night. It also brought some babies of the dog kind....Our biggest baby MacDaddy was our 205 lb great dane...our protector and Chester his little 10lb buddy! Bliss for both of us!
We loved being here so much that we would even plan trips to coincide with snowstorms so we could get "snowed in". which was an excuse to cook, drink nap in front of the fire and play cards for days! Almost 5 years and not much happened in the way of construction...we were comfortable with poly stapled over the insulation and no drywall.....were is the key word there!!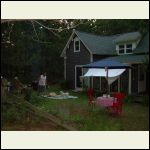
1_005_Medium.jpg
| 
boat_099.jpg
| 
boat_101.jpg
| 
Cabin_Construction_0.jpg
|
|
|
trollbridge
Member
|
# Posted: 24 Jun 2012 07:06pm
Reply
Great reading!!! Brilliant use of architectural shingles!!!
We try to get snowed in too at our place. Did ya get to Moquah?
|
|
hattie
Member
|
# Posted: 24 Jun 2012 11:18pm
Reply
Beautiful place. I love the sunroom!!!
|
|
| . 1 . 2 . 3 . 4 . 5 . 6 . 7 . >> |

