| . 1 . 2 . >> |
| Author |
Message |
60766244
Member
|
# Posted: 24 Apr 2014 07:36am
Reply
Okay...
Basic history of why and where.
Ever since I can remember I've wanted a place in the bush. (That's Australian for wilderness/forest/scrub)
At about age 15 or less I started planning it seriously.
My old work-books from high-school were absolutely unsaleable (much to my mothers despair) from all the sketches, notes and ideas I crammed into them while not studying in school.
I'd spend hours up late every night thinking about it, reading about it, looking at photos of cabins and forums just like this.
A week or two after turning 19 I'd saved enough to get a loan and buy a patch of wilderness some 150 acres in size.
They'd wanted close to $400,000AUD for the place but I knew it'd been on the market for nearly two years without a single bite.
I put a very cheeky offer in for $205,000AUD, and, shortly before I turned 20 they accepted it.
I got my title notice a week or two after I turned 20.
Pretty stoked.
The place is 150 acres (~60 hectares) in size, about 340km south of my home town in WA.
It's mostly re-growth mixed in with old growth from pre-settlement. There's some massive trees, and some little ones, some diseased trees, weeds, creeks, native animals (roos, wallaby, emu, wedgy eagles).
It's really just a bit of forest, right next to some State parkland, with two creeks and three hill peaks.
The place is wedged North and South between pasture land for sheep, and the countryside all around is either for sheep or cropping.
To the West is forest, to the East, bluegum plantation land.
It's been protected for 25 years at least under a "Conservation Covenant" - to keep the bush as clean as possible, and prevent any and all farming useage or clearing.
It's a little bit of wild.
I bought so far away from Perth, inland from the coast to keep the place 100% out of the way of possible development over the coming decades.
Perth's one large sprawling city, and can take about 2 hours driving at highway pace to get from the top to the bottom.
No commuters are going to come out this far!
Some photos of the place, and to give a feel for the land.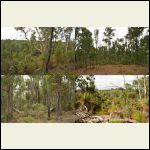
A few views from a hilltop. All land visible is mine.
| 
Eagle Tree, a big one lives up in that nest.
| 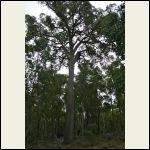
One of the larger living trees on the place.
| 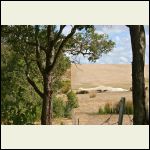
A favourite photo. My land vs the neighbours.
|
|
|
60766244
Member
|
# Posted: 24 Apr 2014 07:52am
Reply
From buying the place I sat on it a while, partly because of funds, partly because I was working so much, and partly because I didn't want to build on it in a hurry.
I didn't want to force myself onto the place, or build something that shouldn't fit.
I had a hundred designs, but a design should sit, nestle into it's location.
The worst buildings are designed before their location is found, where they don't specifically fit, where they sit on the spot, and don't fit in.
Most Australian architecture is very upright in the landscape.
It's specifically rebellious and almost defies the spaces they're situated.
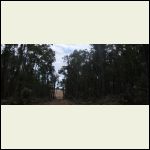
Though still undecided, I knew I needed better access than what my rusting, ancient Landbruiser could allow.
The old logging track would not do.
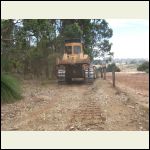
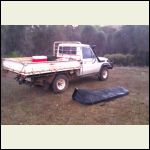
So, for $1,300 I had a man with a D7 Dozer with a 5m blade come and clear some 2km of Easement from the road, and another 1.2km of tracks through the interior, before putting in another 1.4km of firebreak around half the property that the 'dozer could access.
Some of the creek beds are some 40m wide, and a D7 could easily become unrecoverable in such mud.
The access to the interior track had to be cut through some 900mm of solid trees.
I was saddened by this as I love the forest, but it needed to be done for access, fire safety and, I have a near unlimited supply of logs for the foreseeable future.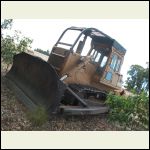
Old beast
| 
Easement clearing
| 
Rusty '87 Landcruiser
| 
New track into the interior along western boundary.
|
|
|
60766244
Member
|
# Posted: 24 Apr 2014 08:10am
Reply
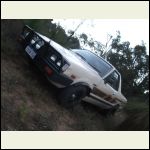
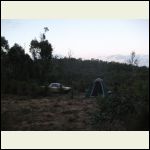
My camp for when I stay there is a basic old Kimberly tent, hasn't been down in nearly two years.
Once I sold the bruiser I went to an Impreza wagon, then to a Brumby ute that got pretty heavily modified.
There's a whole thread about that ute in AUSubaru forums, if you look up my user there.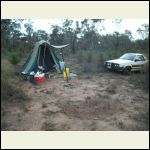
A very basic camp
| 
Lovely thing
| 
Setting sun
| 
Night soon
|
|
|
60766244
Member
|
# Posted: 24 Apr 2014 08:26am
Reply
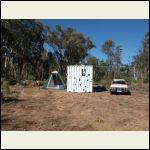
I dropped a shipping container down there as a shed/safe lockup.
After many more visits, and stays, and photos, I eventually came up with a new design.
One I'd not yet worked out before and one designed for Arcadia.
More or less in the centre of the block there's a granite out-crop looking down the valley facing North.
It's about 20mx20m in size.
I decided I am going to build a place on it.
Nothing big, just something comfortable for myself and a special other, or one for a few friends and me to stay for a while of RnR, hunting or building.
The place is to be ported down in three to four HR truck loads with it being built in three to four phases.
The first phase will be the living-kitchen-bed area, with the second being the bathroom/utilities, and the third and fourth being a steel frame to bolt to the stone, and a tropical roof to handle the extreme heat (45 degrees C) of our summers.
Photos of the design come in the next post.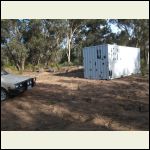
Big white box. Whirlibird in top, vents in the base.
| 
Pretty lineup
| 
Lovely
| 
Due to the nature of the valley, I get 360 degree sunsets.
|
|
|
60766244
Member
|
# Posted: 24 Apr 2014 08:51am
Reply
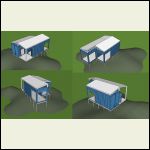
A few modelled up designs of the little, discrete cabin.
It will be painted up the same colour as the mossy granite it's to sit on, with eucalypt accents to help blur it into the forest.
Phase one I am building right now in my backyard, since building down on Arcadia right now is pretty difficult.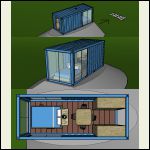
Phase one
| 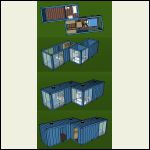
Phase one and two
| 
A little more modelling
|  |
|
|
60766244
Member
|
# Posted: 24 Apr 2014 09:06am
Reply
I designed it to have five, large, 2000mmx2000mm windows to take in the views the elevated platform on the hill.
I had no idea what it would cost, but I budgeted for $20,000AUD.
I've since reduced the window size to fit within budget, improve strength, and practicality of the container cabin.
I've also decided to do all the work myself, no contractors whatsoever.
I'm doing the glass frames myself too as the cost estimate for the glass I wanted (even in the reduced size) was still the entire planned cost of the cabin.
I settled on a cost for five, 2000mmx1100mm windows for $2800, using 10mm smart-glass that is very efficient compared to your usual 6mm house-glass.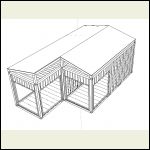
A little sketching
| 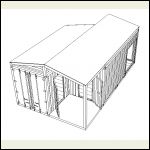
modelling
| 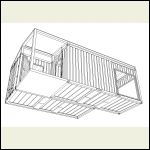
fun
| 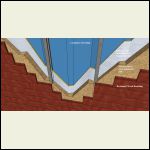
The container will be insulated using galv.steel studs welded to the frame and polastic insulation.
|
|
|
60766244
Member
|
# Posted: 24 Apr 2014 09:35am
Reply
With the design more-or-less finalized, I got to start making things...
I ordered two containers through a friend, two 20ft "One-Trip" containers that come over from China once, then are abandoned as it's too costly to ship them back over the seas.
I also ordered a load of steel, to make the door frames, the door, the windows and skylight holes.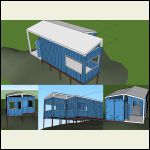
A mock up of the cabin with the windows re-sized.
| 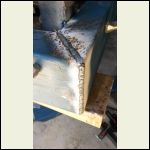
I hate mitre joints. 1/100,000 to do.
| 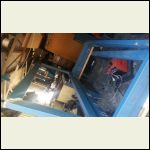
The door frame with door and welded hinges.
| 
Steel bumpers all welded in.
|
|
|
60766244
Member
|
# Posted: 24 Apr 2014 09:45am
Reply
I got a container dropped in the backyard (after temporarily taking down the carport to do so), and had some fun with marking paint to get a feel for the designed layout of the interior.
I also threw in some of my steel studs, and the 12mm polastic insulation I'll be using to keep it out of the weather.
The door was made out of 2.5mmx100mmx50mm box section.
To much pink paint is dangerously fun.
| 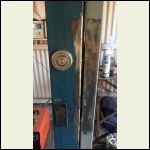
Made the door too close fitting. Involved some heavy modifications.
| 
Marking where the door's to be cut.
| 
Some grinding later...
|
|
|
|
60766244
Member
|
# Posted: 24 Apr 2014 09:52am
Reply
Putting in the door was a day long task.
My first time on the end of a 7" grinder, made for some interesting learning.
The container skin is 5-6mm Corten steel.
Once I had the monster in I put in some welds to hold it over night, and seam welded it in the next day.
I hope it fits! (it didn't)
| 
Atleast if fit vertically.
| 
Heavy frame was about 40-50kgs not easy to westle in square, weld, and stop from falling out.
| 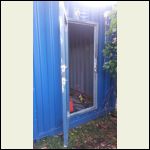
Door swings nicely.
|
|
|
60766244
Member
|
# Posted: 24 Apr 2014 10:00am
Reply
The same day I seam welded the door frame, I also welded the inner in.
I put the steel in facing the same direction as the wall corrugations, but I decided I didn't like it.
So after much bashing and sweat I turned it around and was happy with it.
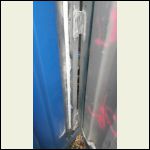
I also bogged all my welds to ensure 100% waterproofness, as I know they're strong, but being completely new to welding, and using slightly messy gasless mig, I don't trust the tightness of it.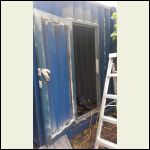
The glove was to protect the lock fitting.
| 
bogbogbog
| 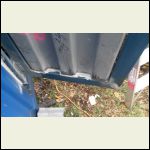
more bogging. Will use a die-grinder to tidy up
| 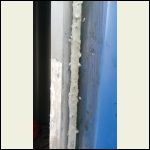
Endless bogging. All external joints will get the same treatment.
|
|
|
60766244
Member
|
# Posted: 24 Apr 2014 10:11am
Reply
I put in a port for services between the two containers - I made two matching ports, the other will go in when I build the second phase.
A ladder made of off-cuts went on the side to ease safe access to the top of the container for whatever reason.
I put in a couple of studs to see if my idea of welding them in (soby avoiding penetrating the container skin too much) and it seemed to work.
Couldn't pull those studs off without a truck!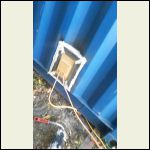
Services Port
| 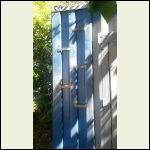
I put a half-ladder on the container
| 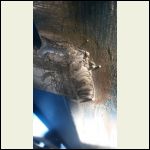
My welding is improving, though still not the best.
| 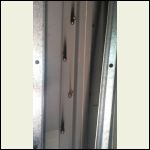
Good penetration. Pretty happy with that. Those steps aren't going anywhere!
|
|
|
60766244
Member
|
# Posted: 24 Apr 2014 10:27am
Reply
Had a heap of 8mm "seconds-premium" 1200mmx650mm plywood delivered. 130 boards.
I'm trying to build using as much recycled material as possible.
The steel is seconds where possible, or freebies.
The board was waste sold on by a construction wholesaler. It will go in as cladding over my stud-work, under my reclaimed Jarrah floorboarding I am putting on the walls.
Cutting all the 50mmx100mm box was tedious work, and I made up the "inner" frames for the windows.
It turned into a cost-difference of $130AUD more than the initial steel window framing, compared to $5,000-$10,000AUD for fancy glass with frames. Pretty glad I went down this route.
Making the first frame up square was a bastard of a task (the shed floor is completely uneven) and took a few hours but once that was done, making the other four duplicates took only a few more.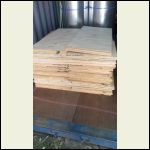
Lovely boards.
| 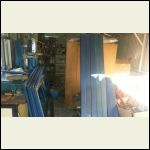
Cutting steel all lined up.
| 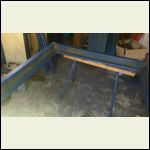
The first window frame, made with a 10mm tolerance top and side.
| 
Clamping the inner onto the other inner.
|
|
|
60766244
Member
|
# Posted: 24 Apr 2014 10:30am
Reply
Some more photos of the frames being made in the garden shed.
All in all took about two days from concept to creation.
Pulling square
| 
All cooked up
| 
The last of five made up.
|  |
|
|
60766244
Member
|
# Posted: 24 Apr 2014 10:36am
Reply
Been frustrated how I was going to vent the cabin. I'm putting in two whirlybird vents to avoid aircon being needed, and I worked out the spare steel from the frame making would make some simple, stylish, very effective vents to weld in.
Banged them up in a few hours.
Again using some leftovers, I cooked up a tiny little window, made in the over-engineered, over tough way of the much, much larger cousins.
It's made of 25mmx25mm and 25mmx50mm box, and I'll put it in my monolithic steel entry door.
Concepts...
| 
Made up along with one of the whirlybird frames.
| 
And a cute little window.
|  |
|
|
60766244
Member
|
# Posted: 24 Apr 2014 10:43am
Reply
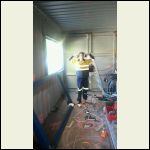
Window hole number one was marked out, and with the help of a good friend we got it in after some serious thumping and hard work.
Got so stuck in, I forgot to take photos of the how.
The frames are just heavy enough, and certainly awkward enough it's best done with more than one person.
Easy work for two.
Sweat and cussing for one...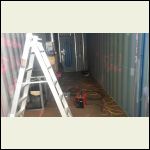
Marking up.
| 
Success!
| 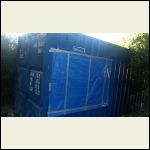
Tack-welded in and weatherproofed for now with some tape and tarp.
|  |
|
|
60766244
Member
|
# Posted: 24 Apr 2014 10:50am
Reply
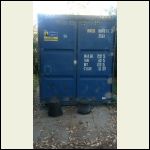
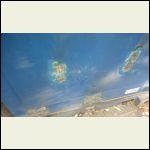
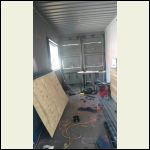
Spent some hours cutting the welded bolts off to free up the door arms, also welded brackets all through the inside of the door to stop them opening ever again, before cutting things up to put my window in.
Plugged the bolt holes with the welder, bit messy, but pretty effective.
Plant pot safety steps are the best.
The next day I decided to tackle the next window in... by myself.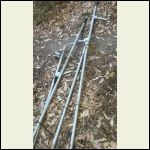
I'll try find a new use for these bits somehow.
| 
Plugged up
| 
Ground smooth
| 
A window emerges.
|
|
|
60766244
Member
|
# Posted: 24 Apr 2014 10:57am
Reply
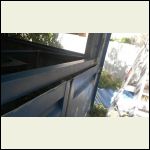
So, because I made my windows 2000mm, it meant my frames had to be 2110mm wide.
Turns out the door frame pillars on a high-cube, 20ft container are exactly 2105mm between the two.
Damn.
I guess I should have checked that... But oh well.
It just needed more grinding work, and now my frame is going to have to sit a tiny bit to the side...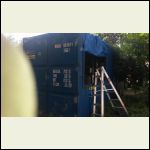
finger in the way...
| 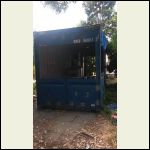
Love that 7" grinder.
| 
Just one of those moments...
| 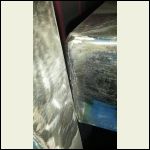
5mm...
|
|
|
60766244
Member
|
# Posted: 24 Apr 2014 11:05am
Reply
I called up a friend and he came around and spent 20 minutes helping me wrestle it in square.
Bloody legendary bloke.
It was jammed in there so tight I didn't even tack weld it in.
We used a brick to persuade it into position.
I welded some of it up today, but ran out of time, as I had to pack for a camping trip tomorrow.
And that's where I am up to, up until now.
When I am back, I'll be in for a day of dull welding as I seam weld all that up.
Not looking forward to it.
But I'll need something to bring me back to reality after a long-weekend long music festival!
I hope you all enjoyed that so far.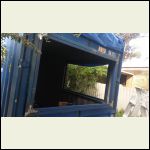
In!
| 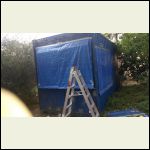
All weather ready too.
| 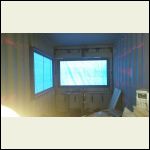
A lovely glow.
|  |
|
|
Ontario lakeside
Member
|
# Posted: 24 Apr 2014 02:21pm - Edited by: Ontario lakeside
Reply
Fantastic. I love your plan of phasing in the build. I wanted to use shipping containers but our site has no road access. Keep up the good work.
|
|
dk1393
Member
|
# Posted: 24 Apr 2014 02:49pm
Reply
Enjoy reading about your build. I love the windows. Good luck.
|
|
OwenChristensen
Member
|
# Posted: 24 Apr 2014 07:30pm
Reply
You have a great story going. A cabin in a beautiful location. Nice!
Owen
|
|
stickbowcrafter
Member
|
# Posted: 25 Apr 2014 12:54am
Reply
Welcome to the forum. Great piece of land and nice work so far.
-Brian
|
|
turkeyhunter
Member
|
# Posted: 25 Apr 2014 06:43am
Reply
looks lovely!!!! nice job on your build...and pretty country!!!
|
|
cabingal3
Member
|
# Posted: 25 Apr 2014 09:44am
Reply
pretty wonderful to have been so young and saving money to purchase so much land.very grand to know and dream of what u want to do at a young age.i have been trying to get back to the land since i was 10.now in my 60's -we are finally almost there.
really enjoyed the progressive nature of yur post.great to read of it all.
lovely land.
welcome to the forum
|
|
60766244
Member
|
# Posted: 28 Apr 2014 08:04am
Reply
No posts for a few days.
Been at a large Hippy/Folk festival down south from where I live in the hills all weekend.
This week the goal is one more window in there, as well as the "join" door that will later connect it with the other phase of the cabin.
I'd like to get the studs all done too, but we'll see.
I'm glad there's some interest here, it's nice to find a cabin forum thriving so well.
Thankyou all for the welcome.
I've always been very dogged in my goal chasing. I see now I could have done it easier over longer, but it's just how I tend to tackle my life.
Arcadia (the block) usually leaves me speechless once a day when I am there.
I look to find some time to go through all your threads where you have them.
|
|
tcmatt
Member
|
# Posted: 28 Apr 2014 09:10pm
Reply
Great posts! Please keep them coming.
|
|
60766244
Member
|
# Posted: 29 Apr 2014 07:59am
Reply
So I am down with some sort of potent, magically painful throat pain and the like.
No real work done for another day.
The fifth day.
This is getting unbearable.
The sickness is less annoying than the lack of doing.
I did however measure up the new door frame to go in, as well as the fact I think I am moving the fireplace to up against the wall.
I'll grab a photo of the marking before I cut it as it's pretty flukey and I had a laugh at it before choking on that idea.
I've also been considering a queen-size bunk bed to put in the place, meaning in a pinch, it can sleep 4-6 people depending on how good a set of friends they are.
I want to make it adjustable so when not needed, it is a standard Queen bed I've some drawings in my mind and will spend the night putting them to paper before I drop them into Google Sketchup.
Here's another idea though...
Bed hanging from the ceiling and dining table underneath. Using the same space up, but considering how much space above tables is wasted, it should make it feel cozy and intimate.
There's already 1t rated attachment points up there so it's not a 'difficult' do...
Dining table under bed for maximum space efficiency?
|  |  |  |
|
|
60766244
Member
|
# Posted: 1 May 2014 06:33am
Reply
Hoorah!
Progress!
One more window in today courtesy of a great friend and his help welding it all up today and dealing with existing work.
Really needed to catchup after a week of absence.
Little bit of rust to deal with, but nothing too problematic.
So much rain about it'd wandered in where it shouldn't have done. The window went in first go!
Little bit pleased with that!
Things get easier now, still lots of welding ahead though.
Yippie!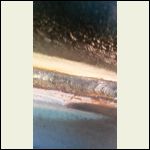
Welding's starting to improve.
| 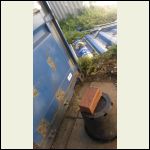
Pot-plant welding seat with optional brick upgrade
| 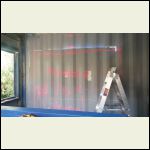
A window starts to emerge again.
| 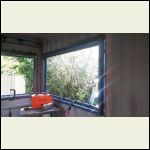
Window in!!
|
|
|
60766244
Member
|
# Posted: 1 May 2014 06:35am
Reply
Pretty pleased when my ideas start to take shape after these years. 
|
|
60766244
Member
|
# Posted: 2 May 2014 09:16am
Reply
Today was more seam welding, then bought and cut up a heap of heavy duty mdf board that will travel down with the container when its moved.
Could hardly move each sheet to far before I cut them down.
Also re-bogged over yesterdays seal work, sealed new work and ground back a little of a corner section and put some paint over a finished bit.
Looks rather neat I think.
Tomorrow will consist of another roof fitting being made and grinding back all those bogged seals.
Yippee.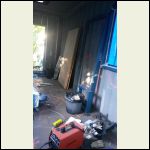
Pretend wooden windows, the "400mm hallway" door fra
| 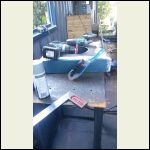
New skylight mount 1 of 2
| 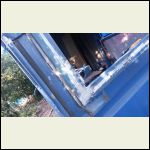
Messy corners from all bogged up.
| 
Cleaned, pretty and painted.
|
|
|
| . 1 . 2 . >> |

