|
| Author |
Message |
WILL1E
Moderator
|
# Posted: 5 Jan 2023 08:33am
Reply
Getting close to finally pulling the trigger on some pine T&G from Menards to finish off the gambrel ceiling at the cabin. I plan to go with the 1x8"x8' unfinished pine carsiding w/o the end matching.
Just curious if anyone has any installation tips or tricks to share?
|
|
Steve_S
Member
|
# Posted: 5 Jan 2023 09:27am - Edited by: Steve_S
Reply
I installed 1"x6"x10' T&G on all my ceilings and loft "face wall". I used 2" Brads into the joists & rafters. The trick was to hide the brads by nailing through the tongue and the groove, so patience was required. Also learned quite quickly to remove the plastic protector in the tip of the DeWalt brad nailer to get it into the grooves easier.
When I had to make a butt connection for the boards, I cut 45 Degree edges, one long and the other to lap over it. This made for a nice finish which still allows for expansion & contraction.
See Attached images as to how I prepped this.
Note that where wall meets ceilling, I used clear pine Cove Molding which actually turned out very nicely .
Hope it helps, Good Luck.
SW ceiling at Loft
| 
V-Joint in situ
| 
V-Joint Butt Ended showing lap
| 
profile for V-Notch butt joint
|
|
|
jsahara24
Member
|
# Posted: 5 Jan 2023 09:32am
Reply
We installed 6" wide on our ceiling. We nailed into the tongue to hide the nails and make sure you stain/finish them before you install them!
|
|
gcrank1
Member
|
# Posted: 5 Jan 2023 10:07am
Reply
I did random width 3,4,5" t&g cherry for the walls in my living room at home. It was locally grown and cut/milled, attic dried for about 10yrs in a proper stack with spacers between layers. There wasnt much warp but I learned very quickly that I had to trial fit the tongues and grooves of the pieces I was putting together! I had to hand plane a bit many to fit.
For me it was important to get grains and figure of the wood to be placed for the best visual effect; ie, up the walls high enough to be above furniture, etc.
And I hand hammered. I sure wouldnt want to do that on a ceiling!
Working overhead uses muscles that usually arent used to it. Take some 'Tylenol' before ya start.
No finish?
|
|
Nate R
Member
|
# Posted: 5 Jan 2023 11:06am
Reply
I used 1x8 material from Menards for my porch ceiling. 2" 16ga nails through the tongues is what I used
What lengths will you use?
Some will be warped, so you have to be careful that you get them in place before you nail, and sometimes a helper to hold one end or bowed part with a tool can help as you nail.
Also, I made a tool out of a scrap piece of T&G similar to this: https://youtu.be/20zxE3B4-8c?t=290
I added a piece of 2x4 scrap to the end that allowed me to hammer the end of the 2x4 bit to pull the board into place. Hope that makes sense.
And, I did have a couple small knots that fell out or were missing already....A small piece of black tarpaper stapled to the back of the T&G keeps this looking OK. (Better to see just black vs your insulation through a knot hole)
And yes, I stained all my T&G before it went up. (I did my soffits with 1x4 T&G, as well as the porch ceiling with the 1x8)
-Nate
|
|
WILL1E
Moderator
|
# Posted: 5 Jan 2023 01:27pm
Reply
I'd like to do something that goes with my hickory kitchen cabinets, but being pine i'm not sure how close i'll be able to get to that. I was planning to worry about staining it all after it's up since I just want to get it all installed so I can get the inspector to sign off.
I plan to do 8' lengths so that I can haul boards up in my Jeep Gladiator and not have to drag my 14' trailer home and deal with all of that. I figure i need about 180 boards and I should be able to easily haul 60 boards in a load and I should be able to install those in a single visit. This way I don't have a bunch of lumber sitting around in the cabin or outside in the snow under a tarp.
|
|
WILL1E
Moderator
|
# Posted: 5 Jan 2023 01:29pm
Reply
Quoting: Nate R 2" 16ga nails through the tongues is what I used
I'm guessing you just nail near the bottom of the tongue so that it doesn't interfere with fitting into the groove of the next board? Is it critical to get either the butt/or mitered end joint over a stud or is it ok to miss it and let the previous and next boards keep it in position?
|
|
WILL1E
Moderator
|
# Posted: 5 Jan 2023 01:31pm
Reply
I really like this look 
|
|
|
gcrank1
Member
|
# Posted: 5 Jan 2023 02:22pm
Reply
Getting really random ends visually will be a bit of a trick as the 8' will kinda get you into a 'repeat rhythm' of pattern and your eye will tend to find the repeating lines.
Look at a bunch of pics carefully to see what you can detect. Some you wont like right off so you will know what to avoid, others may really appeal. That will be lots better up front than after you have a bunch up and wish you had done it differently.
|
|
jsahara24
Member
|
# Posted: 5 Jan 2023 03:32pm
Reply
Quoting: gcrank1 Getting really random ends visually will be a bit of a trick as the 8' will kinda get you into a 'repeat rhythm' of pattern
Good point, we got a variety of lengths to remedy that.
|
|
BobW
Member
|
# Posted: 6 Jan 2023 12:55pm
Reply
I ran 8 foot and used a trim strip to cover joints. Nailing is just like hardwood floor but upside down and easier on this old back.
Bob
|
|
Steve_S
Member
|
# Posted: 6 Jan 2023 01:18pm - Edited by: Steve_S
Reply
GEEZ, my pics got mulched up and I can't edit my post for some reason... Damn this software is so dated now... ugh....
TIP, really serioulsy consider staining/vanishing the planks before installation, I guarantee that if you don't, you'll add a lot of "Blue Air" to your world when doing it once installed. Make sure the gentile folk are out of the building site !
Pine takes stains very well and you can certainly get a hickory stain to give you the colour & richness. Remember that it will darken somewhat over time so go a bit lighter.
|
|
Cedar Fever
Member
|
# Posted: 6 Jan 2023 01:38pm - Edited by: Cedar Fever
Reply
I have been installing T&G in my cabin the last month. I piled it up interlocked on the floor so I know the boards will lock when I hang them. I use a rubber mallet and beat the hell out of it. The install is taking me forever.
|
|
Cedar Fever
Member
|
# Posted: 6 Jan 2023 01:52pm
Reply
I bought 180 T&G boards. It was not feasible to seal them before install.
|
|
gcrank1
Member
|
# Posted: 6 Jan 2023 04:08pm
Reply
Yeah, t&g is time/labor intensive. Looks great done, not so much half way through and yer burned out.....
|
|
Fanman
Member
|
# Posted: 6 Jan 2023 05:40pm - Edited by: Fanman
Reply
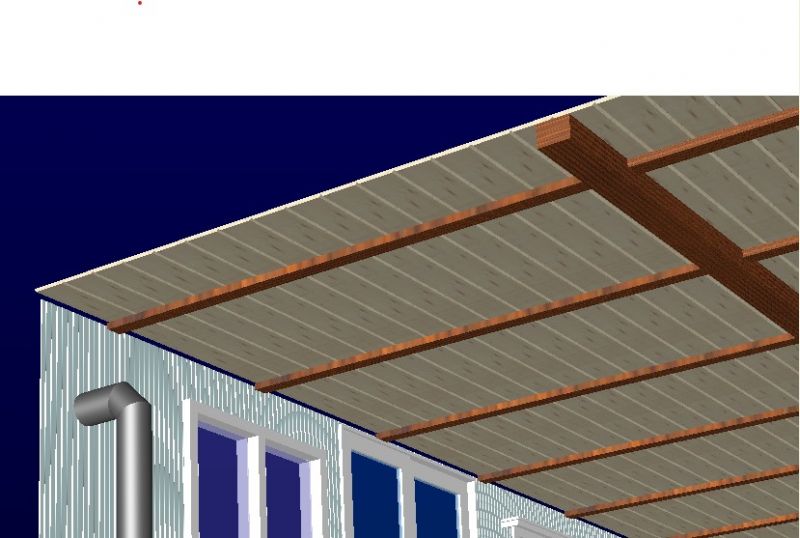
We're planning T&G for the ceiling in our kitchen / living room. I'm going to have to do it somewhat differently. The previous owner used very thin plywood under the attic joists, an inch of white foam board insulation under that, then paneling under that for the visible side. Rather than remove all that (and lose the extra insulation from the 1" foamboard, minor as that is), I'm going to add the T&G under that.
Since nailing through the soft stuff is problematic, I'm planning to apply it [temporarily] with contact cement to the existing paneling, parallel to an existing exposed structural beam. Each board will be 5' long. Then, I'll run 2x4s laid flat crosswise as fake beams, hiding the seams and providing support for the T&G. The 5' spacing is to match two support columns that are 10' apart, and the short boards should be easy to handle.
We're looking at a thin whitewash for the boards, with a darker stain on the beams, all of which we'll do before putting them up.
The image is a rendering from my CAD package.
|
|
WILL1E
Moderator
|
# Posted: 9 Jan 2023 09:54am
Reply
Brads vs. finishing nails....which one and why?
|
|
Nate R
Member
|
# Posted: 9 Jan 2023 09:58am
Reply
16ga nails for mine...didn't want it to pull out, and most used long enough nails that I did want to be pushing 18ga through that length.... and it's mostly not visible so why not?
-Nate
|
|
Cedar Fever
Member
|
# Posted: 10 Jan 2023 10:49pm
Reply
I’m using a siding nail gun. It’s not coming down and probably made the structure stronger.
|
|
WILL1E
Moderator
|
# Posted: 11 Jan 2023 07:57am
Reply
I treated myself to a new Rigid cordless finish nailer last night. Figured this would be easier to handle when installing the T&G solo as well as being up on scaffolding. I'll have other trim work to do in the cabin so I figured the investment was worth it to not have to listen to the compressor all the time!!
I too will need around (180) 8' sticks so i just can't envision staining all those ahead of time especially since it's cold outside this time of year here in WI.
|
|
gcrank1
Member
|
# Posted: 11 Jan 2023 08:47am
Reply
Just imagine staining/sealing them overhead with the overspray or drips coming down.
|
|
jsahara24
Member
|
# Posted: 11 Jan 2023 01:30pm
Reply
Nice on the finish nailer, I need to get one of those.....
Its definitely worth staining it before, we did pre stain, then regular stain, then wiped it off....Then let it dry...not much fun but better than working over your head.....
Could you do it at home and then bring them up to install?
|
|
Cedar Fever
Member
|
# Posted: 11 Jan 2023 04:46pm
Reply

This is where I am at. Using 12ga nails.
I did shim it about 1/8 an inch off the ground to allow for movement and maybe drying if it gets wet. I also caulked the bottom board to the wall to try and keep rockwool dust and bugs from falling out.
I plan on coating the pine with some kind of oil based lacquer and a pain brush when I am done. I imagine it wont be perfect, but that is ok. Best effort here.
|
|
silverwaterlady
Member
|
# Posted: 12 Jan 2023 12:31pm - Edited by: silverwaterlady
Reply
My husband did a bedroom last summer in t&g. He did the walls and ceilings.
First thing he watched a lot of YouTube videos during the winter.
He used a cordless 16 gauge nail gun with rust proof nails. We purchased two batteries so that he didn’t have to wait between charges.
The t&g was dry. So it won’t shrink.
Use welders vice grips (Amazon) to hold up the other end of the board.
Use a good chop saw, a Saker Contour Gauge (Amazon).
Install the gable ends first and the ceiling last.
Trim was used to cover the gaps where the wall and ceiling meet.
He won’t stain the cedar. He is going to do a Perma Chink interior clear top coat. Did not have time to do that. We had company two days after he finished the bedroom.
This was the first time my husband did t&g. He did a beautiful job.
1A8F281FCFA942058.jpeg
| 
9F6DFA55D700496FB.jpeg
| 
02DF854975594C6BB.jpeg
| 
CB3436C5A77246D88.jpeg
|
|
|
|
