|
| Author |
Message |
tasteoftaiga
Member
|
# Posted: 4 Apr 2016 04:11pm
Reply
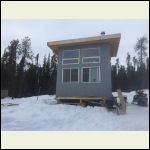
We have been going hard this spring on the cabin and are close to shelled in. Total footprint 12x18, all 2x6 construction, entire structure is sitting on 2x10 triple ply beams on blocking (on bedrock).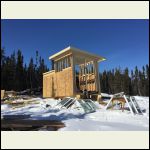
image.jpeg
| 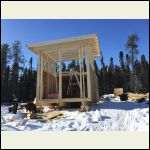
image.jpeg
| 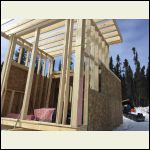
image.jpeg
| 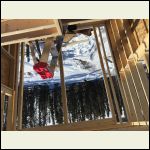
image.jpeg
|
|
|
hattie
Member
|
# Posted: 4 Apr 2016 05:27pm
Reply
That looks like it is going to be really nice. Can't wait to see more photos as your project progresses.
|
|
Wendigolake
Member
|
# Posted: 4 Apr 2016 09:18pm
Reply
Where are you building it? Looks good and there doesn't seem to be a lot of snow right there.
|
|
tasteoftaiga
Member
|
# Posted: 4 Apr 2016 11:49pm
Reply
We're located outside Yellowknife, Northwest Territories, about 30km from the city.
We don't get that much snow up here, enough for some decent snowmobiling but no crazy dumps, which is great for the snow load but a bit more would be nice.
|
|
tasteoftaiga
Member
|
# Posted: 19 Apr 2016 05:09pm
Reply
Update: front wall framed in, loft walls stood, couple of penertrations cut and working towards getting fully sheeted/closed in.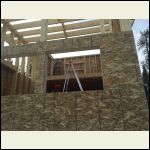
image.jpeg
| 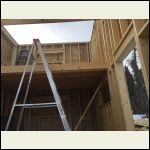
image.jpeg
| 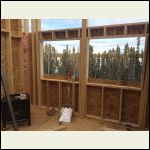
image.jpeg
|  |
|
|
rockies
Member
|
# Posted: 19 Apr 2016 07:35pm
Reply
Is that a window wall with two sets of windows in the last picture? You don't seem to have a header between the upper and lower windows. Is that wall going to be strong enough to support the weight of the roof and resist wind loads?
|
|
Julie2Oregon
Member
|
# Posted: 19 Apr 2016 08:38pm
Reply
Looks great!!! What an exciting time! Color me envious! 
|
|
tasteoftaiga
Member
|
# Posted: 19 Apr 2016 08:54pm
Reply
I've got a triple 2x6 header running the full width of the window wall above the penetrations that is supported by jack studs on either end and a triple stud in the centre between the windows. Should be plenty strong for load transfer to keep the windows from popping.
Consulted the carpenter buddies on that one, only cost me a couple beers.
|
|
|
tasteoftaiga
Member
|
# Posted: 25 Apr 2016 05:36pm
Reply
Last weekend on the ice with the trucks, got er' fully enclosed. Still 7 windows to install but it's closed up to weather so I'll rest easier until the lakes melt and I can get out in the boat to paint it.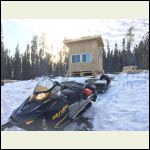
image.jpeg
| 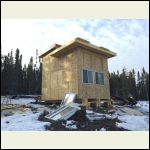
image.jpeg
| 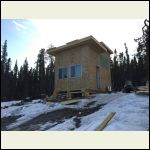
image.jpeg
| 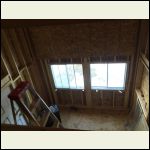
View from the loft.
|
|
|
abby
Member
|
# Posted: 29 Apr 2016 09:24am
Reply
look GREAT! can't wait to see more. 
|
|
Rowjr
Member
|
# Posted: 29 Apr 2016 12:35pm
Reply
looking good
|
|
tasteoftaiga
Member
|
# Posted: 23 Jan 2017 01:52pm - Edited by: tasteoftaiga
Reply
Picture updates in no particular order: summer time on the lake, great northern sunsets, roofing prep and chimney install, first winter check-up, and beginning of insulation. Current goal is to have it insulated, vapour barrier, floors down, kitchen in place, and usable by March/April.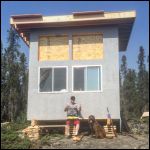
image.jpeg
| 
image.jpeg
| 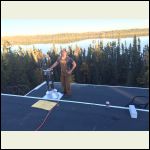
image.jpeg
| 
image.jpeg
|
|
|
tasteoftaiga
Member
|
# Posted: 23 Jan 2017 01:55pm - Edited by: tasteoftaiga
Reply
More shots.
|
|
tasteoftaiga
Member
|
# Posted: 23 Jan 2017 01:58pm
Reply
Winter.
|
|
tasteoftaiga
Member
|
# Posted: 23 Jan 2017 01:59pm
Reply
Last boat ride of summer 2016.
|
|
daniel_hawkins
Member
|
# Posted: 24 Jan 2017 10:09am
Reply
Wow, That looks good! Interesting design there, is it living area with kitchen downstairs, and one bed up in the loft?
|
|
tasteoftaiga
Member
|
# Posted: 24 Jan 2017 11:49am
Reply
Yes, the design came together as we were building, some changes were necessary due to timelines and lumber availability. This is what we are dealing with basically:
- Kitchen under loft, looking back on the woods
- Open living room in front half, with 12' ceilings and the large window wall facing lake
- Loft with 7' walls in back
Eventually I will add a walkout from the loft onto the front portion of roof where we will have a small (10' x 10' ish) rooftop deck. This is for two reasons, the view, and strategically getting up into the wind when the mosquitoes are terrible in the summer.
Over the longer term I will probably do an addition for a bunk room, but right now the family is small so we don't need the space just yet.
|
|
tasteoftaiga
Member
|
# Posted: 8 Feb 2017 01:44pm - Edited by: tasteoftaiga
Reply
Update:
Was out a few weekends ago and got most of my insulation in place. Ran out of poly so work on the vapour barrier had to be set aside. Sitting at home a few nights ago I remembered that I forgot to run wire for exterior lights, so the vapour barrier was a blessing in disguise as they say.
Hoping next trip out will be this Saturday at which point I'll put some concrete board behind the stove so I don't burn the place down and finish the vapour barrier. Once this job is done I'm looking forward to putting in the rest of the windows (7 in total to go in) and laying the floor downstairs and installing the kitchen cabinets that have been on a pallet covered in tarp in my yard for the past year!
|
|
tasteoftaiga
Member
|
# Posted: 8 Feb 2017 01:47pm - Edited by: tasteoftaiga
Reply
More photos, because they keep uploading sideways and upside down. Anyone know how to fix that?
|
|
Steve_S
Member
|
# Posted: 8 Feb 2017 05:47pm
Reply
Looking Good and Getting there....
I would suggest you try & find some Magnesium Oxide board instead of the cement board. It is 1/2 the price, 100% neutral / non-toxic, water proof and even suitable for tile backer etc... You do need a saw to cut it, no simple scoring & snapping. It does weigh a bit more and can be attached with 2" drywall screws. I did mine at 12". The stuff never even get's warm compared to everything else around it.
http://magobp.ca/benefits/
Got mine from BMR for $45, 4'x8'x1/2" sheet.
IU was hesitant at first as it was a new product to me but after talking to a few other's (builder's) and my friend the Fire Chief, I thought I would try it and sure am happy I did.
NOTE: It's dusty when cut with a circ saw, don't breath the dust. I did a quick 1/4" score with the circ and snapped it and trimmed off with the Olfa HF knife.
PS: Last two photo's are oriented properly from what I see. I'm using MS Edge as my browser, if that makes any diff... shouldn't.
|
|
ColdFlame
Member
|
# Posted: 8 Feb 2017 07:52pm
Reply
Cool product @Steve_S. I'm going to check that out for myself - thanks for the heads up.
@tasteoftaiga - The photos are all oriented properly. Using Chrome here myself. Often if they are flipping themselves, it's due to the images being too large.
|
|
tasteoftaiga
Member
|
# Posted: 9 Feb 2017 04:20pm
Reply
Interesting product there, however for the most part my choice in material is limited to what I can get at the local lumber yards, which is pretty basic.
Crazy expensive too.
We're paying $65 a sheet for 4x8 concrete board. A 3/8 sheet of OSB is $18. Wild.
|
|
tasteoftaiga
Member
|
# Posted: 26 Mar 2017 04:24pm
Reply
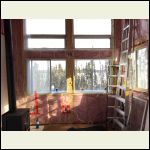
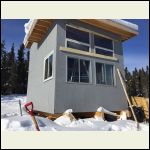
Photo updates, insulation/vapour/air sealing 95% complete. Great milestone but I'm just happy to be punching in Windows. They look awesome.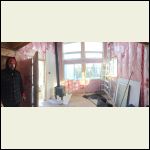
IMG_3198.JPG
| 
IMG_3194.JPG
| 
IMG_3188.JPG
|  |
|
|
tasteoftaiga
Member
|
# Posted: 10 Apr 2017 09:40pm
Reply
Photo updates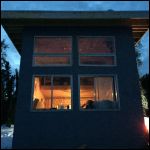
IMG_3299.JPG
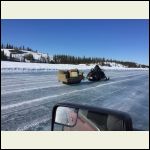
| 
IMG_3285.JPG
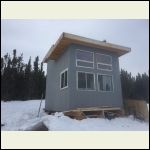
| 
IMG_3232.JPG
|  |
|
|
tasteoftaiga
Member
|
# Posted: 10 Apr 2017 09:44pm - Edited by: tasteoftaiga
Reply
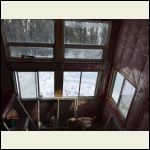
A couple more
IMG_3243.JPG
| 
IMG_3228.JPG
| 
IMG_3231.JPG
|  |
|
|
tasteoftaiga
Member
|
# Posted: 8 May 2018 01:08pm
Reply
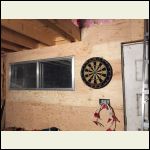
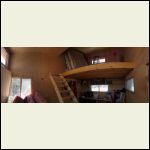
Some updates from this season:
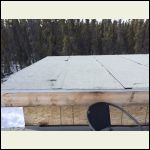
- Interior plywood almost complete
- Electrical in, just need to add fixtures
- Torch on roof complete.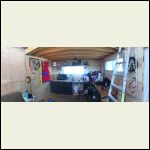
IMG_1795.JPG
| 
IMG_1793.JPG
| 
IMG_1873.JPG
| 
IMG_1904.JPG
|
|
|
tasteoftaiga
Member
|
# Posted: 8 May 2018 01:10pm
Reply
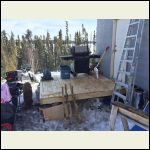
- Deck built
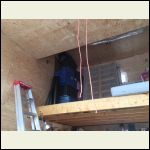
- Morning coffee on the roof
- Interior detail of roof, loft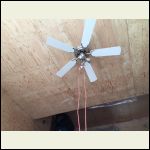
IMG_1920.JPG
| 
IMG_1919.JPG
| 
IMG_1861.JPG
| 
IMG_1875.JPG
|
|
|
|

