| . 1 . 2 . 3 . >> |
| Author |
Message |
dogfish
Member
|
# Posted: 6 Dec 2018 10:20am
Reply
Hello I am new to this forum and only found it because I wanted a place to share my build but am glad I did, there are so many great projects posted here.
My project started when I acquired a piece of property my family has owned since the 70's and I grew up on. As soon as I owned it I started planning and building.
The spot I am building is where our barn used to sit.
My ultimate goal is to build a 24 x 24 log cabin and the foundation is completed for that cabin but I needed somewhere to stay while I am building that. I am a business owner so I can pull off a few long weekends but I was not able to take off a couple weeks to build so my solution was to build the cabin in FL where I live, break it down onto a trailer and assemble it in TN.
The first pic is of the barn that used to stand where our cabin is going.
|
|
dogfish
Member
|
# Posted: 6 Dec 2018 10:24am - Edited by: dogfish
Reply
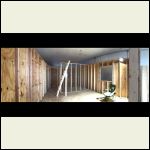
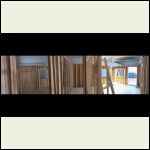
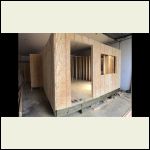
So as I said I built the cabin in a commercial bay in FLA and it worked well except it was not tall enough to trial fit the trusses.
cabin_1.JPG
| 
cabin_2.JPG
| 
cabin_3.JPG
| 
cabin_4.JPG
|
|
|
creeky
Member
|
# Posted: 6 Dec 2018 10:27am
Reply
Looks like a great adventure. What kind of foundation are you using?
|
|
dogfish
Member
|
# Posted: 6 Dec 2018 10:39am - Edited by: dogfish
Reply
corrected pictures
|
|
dogfish
Member
|
# Posted: 6 Dec 2018 02:37pm
Reply
sorry I'll get this eventually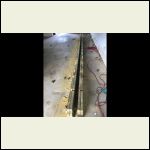
IMG_3157.PNG
| 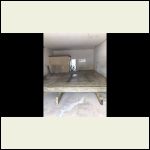
IMG_3159.PNG
| 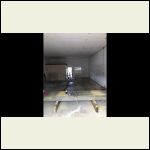
IMG_3160.PNG
| 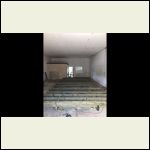
IMG_3161.PNG
|
|
|
dogfish
Member
|
# Posted: 6 Dec 2018 02:43pm
Reply
Quoting: creeky What kind of foundation are you using?
solid concrete blocks. I,m not 100% sure if I will keep it once the log cabin is complete witch is the reason for the skids, on the other hand it may become our guest house.
|
|
dogfish
Member
|
# Posted: 6 Dec 2018 02:55pm
Reply
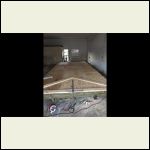
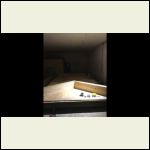
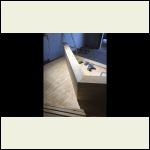
I built the trusses but was not able to test fit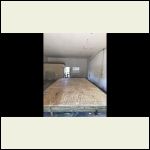
IMG_3162.PNG
| 
IMG_3163.PNG
| 
IMG_3164.PNG
| 
IMG_3165.PNG
|
|
|
dogfish
Member
|
# Posted: 6 Dec 2018 03:04pm
Reply
trusses
|
|
|
dogfish
Member
|
# Posted: 6 Dec 2018 03:08pm
Reply
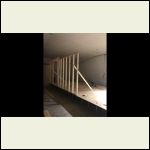
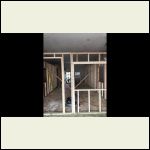
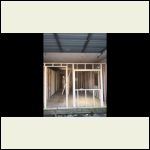
I built all of the walls in 8' sections so I could move them myself.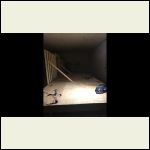
IMG_3167.PNG
| 
IMG_3168.PNG
| 
IMG_3170.PNG
| 
IMG_3171.PNG
|
|
|
dogfish
Member
|
# Posted: 10 Dec 2018 07:35am
Reply
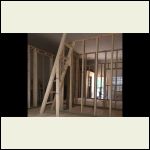
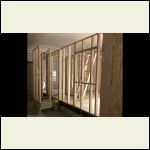
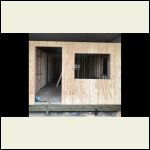
more pics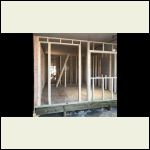
IMG_3181.PNG
| 
IMG_3182.PNG
| 
IMG_3183.PNG
| 
IMG_3184.PNG
|
|
|
dogfish
Member
|
# Posted: 10 Dec 2018 07:38am
Reply
more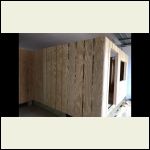
IMG_3186.PNG
| 
IMG_3187.PNG
| 
IMG_3188.PNG
| 
IMG_3189.PNG
|
|
|
dogfish
Member
|
# Posted: 10 Dec 2018 07:45am
Reply
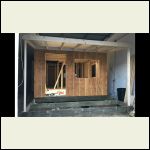
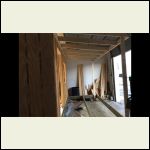
Assembly complete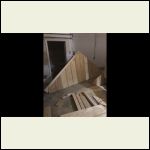
IMG_3190.PNG
| 
IMG_3195.PNG
| 
IMG_3196.PNG
|  |
|
|
dogfish
Member
|
# Posted: 10 Dec 2018 07:58am
Reply
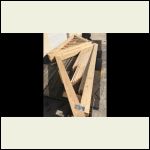
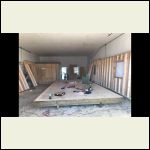
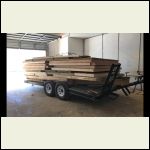
Loaded up and ready to go, it took 18 daysstart to finish however I only worked 2-4 hours a day and not every day. what really suprized me is I had pre determined before the project started the hight of the load and was within 2".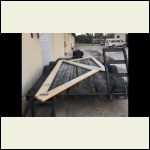
IMG_3200.PNG
| 
IMG_3201.PNG
| 
IMG_3202.PNG
| 
IMG_3205.PNG
|
|
|
dogfish
Member
|
# Posted: 10 Dec 2018 08:00am
Reply
Time to head to Tennessee
|
|
fiftyfifty
Member
|
# Posted: 10 Dec 2018 06:51pm
Reply
I can't wait to see it put together.
|
|
dogfish
Member
|
# Posted: 11 Dec 2018 07:34am
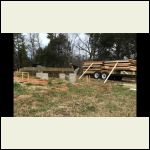
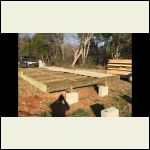
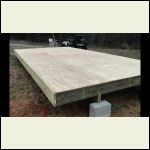
Reply
Day #1 in West Tennessee/ 20 deg.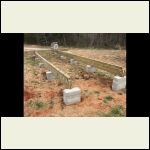
IMG_3207.PNG
| 
IMG_3208.PNG
| 
IMG_3209.PNG
| 
IMG_3210.PNG
|
|
|
dogfish
Member
|
# Posted: 11 Dec 2018 07:39am
Reply
Sometimes you need moments like this to remind you why your working 14 hours a day in 20 degrees. The foundation in the back ground is the next project(log cabin)
|
|
dogfish
Member
|
# Posted: 11 Dec 2018 07:48am
Reply
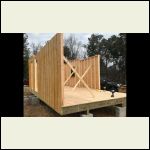
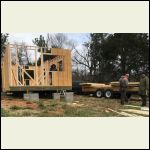
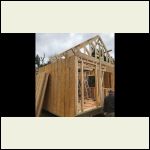
Day 2 I got some help, I really expected to have do this by myself or maybe one other person but when I started freinds and family showed up.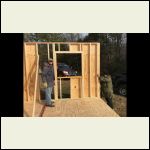
IMG_3213.PNG
| 
IMG_3214.PNG
| 
IMG_3215.PNG
| 
IMG_3216.PNG
|
|
|
dogfish
Member
|
# Posted: 11 Dec 2018 07:51am
Reply
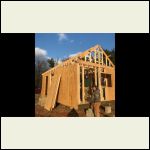
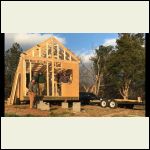
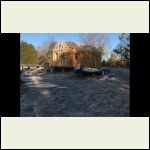
By the end of day 2 we had the structure frame and rafters set. The pre-cutting and notching made it to where I rarely needed a tape measure or saw so it really saved time in the reassembly.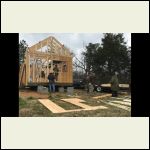
IMG_3217.PNG
| 
IMG_3218.PNG
| 
IMG_3219.PNG
| 
IMG_3220.PNG
|
|
|
dogfish
Member
|
# Posted: 11 Dec 2018 08:04am
Reply
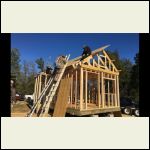
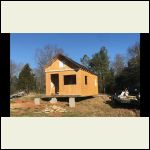
Day 3 / 21 degrees/ heavy frost/
I didn't get many pictures cause I didn't stop working long enough. One thing I would do different next time is I did not put the Tyvek on in Fl because I didn't want a seam every 8 feet for weather to creep through but this meant we had to remove all the wall paneling ,install the Tyvek then reinstall the wall paneling, this added at least three hours.
IMG_3221.PNG
| 
IMG_3223.PNG
| 
IMG_3228.PNG
|  |
|
|
dogfish
Member
|
# Posted: 11 Dec 2018 08:32am
Reply
So After 3 days of work its was time to go home and plan for the next trip but here are a few more pics.
The first is the floor joists and you can see some rubber , this is from the load shifting on the trailer and before I realized it I had removed about a 1/8" of the side wall.
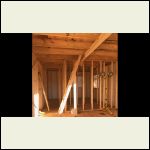
The second pic is standing in the front door looking toward the kitchen, bathroom and bedroom in the back.
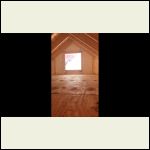
The third is the loft
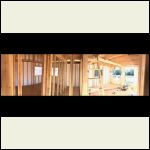
The fourth is a panoramic form standing in the laundry room of the entire inside.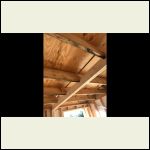
IMG_3224.PNG
| 
IMG_3225.PNG
| 
IMG_3250.PNG
| 
IMG_3251.PNG
|
|
|
dogfish
Member
|
# Posted: 11 Dec 2018 08:33am
Reply
View from front window
|
|
dogfish
Member
|
# Posted: 11 Dec 2018 08:47am
Reply
When I arrived to continue work nature was already trying to claim the property back so I had to spend the first day mowing and trimming.
|
|
dogfish
Member
|
# Posted: 11 Dec 2018 08:51am
Reply
forgot the pics
|
|
dogfish
Member
|
# Posted: 11 Dec 2018 08:53am
Reply
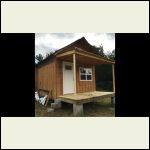
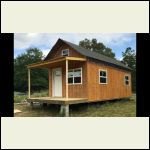
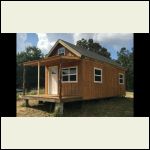
On this trip we installed doors, windows and ceiling insulation.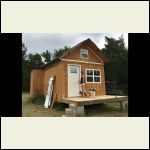
IMG_3254.PNG
| 
IMG_3255.PNG
| 
IMG_3256.PNG
| 
IMG_3257.PNG
|
|
|
dogfish
Member
|
# Posted: 11 Dec 2018 08:53am
Reply
And the porch
|
|
dogfish
Member
|
# Posted: 11 Dec 2018 08:55am
Reply
At this point we ave a total of 5 1/2 days of building on site.
|
|
fiftyfifty
Member
|
# Posted: 11 Dec 2018 09:01am
Reply
Very cool. Looks great! I'm confused about the house wrap. Why do you need it? Looks like you are using T1-11 plywood for the siding, no? Around here we use that without any housewrap ever.
|
|
dogfish
Member
|
# Posted: 11 Dec 2018 09:09am
Reply
I had the roof installed before my third trip.
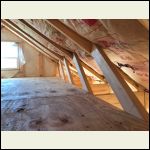
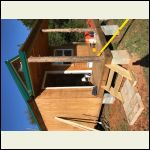
On the third trip I installed the drain and supply plumbing and some electrical so not many pics. I also installed temporary steps, underpinning, truss bracing, and cedar porch poles from the farm.
1st pic master bedroom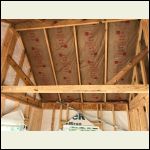
IMG_2748.JPG
| 
IMG_2753.JPG
| 
IMG_2749.JPG
|  |
|
|
dogfish
Member
|
# Posted: 11 Dec 2018 09:13am - Edited by: dogfish
Reply
Time for a break
|
|
| . 1 . 2 . 3 . >> |

