| << . 1 . 2 . 3 . >> |
| Author |
Message |
dogfish
Member
|
# Posted: 11 Dec 2018 09:19am
Reply
And this is how it stands present day 12/11/18
I will be going back in January to install the bathroom and electrical.
|
|
dogfish
Member
|
# Posted: 11 Dec 2018 10:02pm
Reply
Quoting: fiftyfifty Why do you need it?
Maybe I don't with, with my lack of experience I tend to overbuild. If I didn't really need the Tyvek I wasted a lot of time.
|
|
fiftyfifty
Member
|
# Posted: 12 Dec 2018 08:26am
Reply
Wasting time, surrounded by good friends, breathing fresh air, in a gorgeous natural location is sort of the point though.
It looks great.
|
|
dogfish
Member
|
# Posted: 18 Dec 2018 09:33am - Edited by: dogfish
Reply
I would like to thank everyone that helped me on this from my daughter boyfreind, my brothers, my wife, my Dad, freinds from a nearby hunting camp and a couple people I never met before this project that came to help.
|
|
dogfish
Member
|
# Posted: 21 Jan 2019 08:05am - Edited by: dogfish
Reply
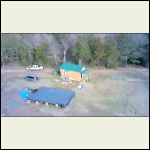
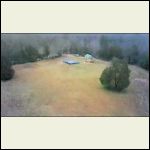
I spent a couple days at the cabin last week but didn't get much done , I installed the shower and toilet and that's about it.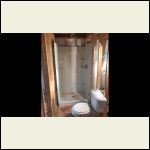
IMG_3560.PNG
| 
IMG_3506.PNG
| 
IMG_3510.PNG
|  |
|
|
fiftyfifty
Member
|
# Posted: 21 Jan 2019 02:40pm
Reply
Ha, that's plenty. I like those pics. Are they from a drone?
|
|
dogfish
Member
|
# Posted: 22 Jan 2019 07:42am
Reply
Quoting: fiftyfifty Ha, that's plenty. I like those pics. Are they from a drone?
Yes.
|
|
dogfish
Member
|
# Posted: 8 Aug 2019 08:26am
Reply
UPDATE:
We got to spend a few days at the cabin last week and had a great time. We actually where able to get our kids to visit witch is almost the entire reason for the project(they are now adults living they're own lives in different parts of the country) . After the kids left we finished up a little plumbing, ran gas lines and installed drywall. we got all the drywall installed on the walls and mud but did not get the ceiling up yet. On the next trip we will finish the ceiling then start installing outlets and appliances.
|
|
|
dogfish
Member
|
# Posted: 8 Aug 2019 08:40am
Reply
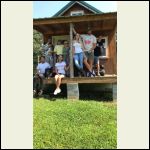
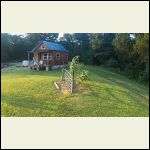
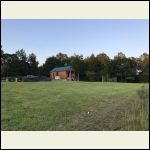
These are some pictures from the last week.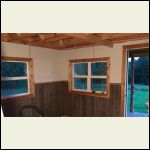
IMG_4770.PNG
| 
IMG_4776.PNG
| 
IMG_4777.JPG
| 
IMG_4656.JPG
|
|
|
dogfish
Member
|
# Posted: 8 Aug 2019 08:44am - Edited by: dogfish
Reply
more pics
|
|
dogfish
Member
|
# Posted: 8 Aug 2019 08:48am - Edited by: dogfish
Reply
corrected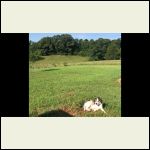
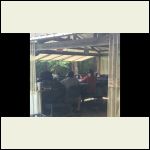
Annie soaking up sun
| 
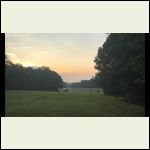
An afternoon at the range
| 
looking down the range
|  |
|
|
dogfish
Member
|
# Posted: 13 Aug 2019 06:20pm
Reply
Below is a link to a video of the property my oldest son put together for me.
https://www.instagram.com/p/B0gGQPenXI0/?igshid=1hlre7accjcr2
|
|
dogfish
Member
|
# Posted: 8 Oct 2019 12:37pm - Edited by: dogfish
Reply
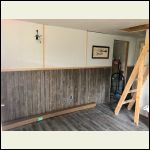
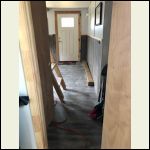
My wife and I spent a couple more days on this project this past weekend.We got the ceiling up(no mud yet), kitchen cabinets in place micro wave installed and vented, a/c duct installed, home made porch and vanity lights installed, interior doors, and water heater installed but not hooked up yet. next trip will be finishing the ceiling and installing more appliances.
We used the paneling on the walls because we had it and didn't want to waste.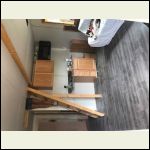
Kitchen cabinets in place
| 
IMG_5153.JPG
| 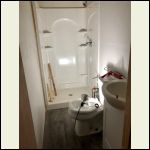
bath vanity, floor and ceiling in
| 
view from bedroom
|
|
|
dogfish
Member
|
# Posted: 8 Oct 2019 12:45pm - Edited by: dogfish
Reply
sorry for the sideways pic
|
|
dogfish
Member
|
# Posted: 8 Oct 2019 12:48pm
Reply
fixed maybe
|
|
dogfish
Member
|
# Posted: 17 Oct 2019 08:59am - Edited by: dogfish
Reply
While I am home in FL I try to think of things I can do to save time in TN so I constructed the cedar "beam caps" to cover the beams in the living area and the bedroom, at this time they are just raw lumber.
I used cedar boards from the local box store and went for the rustic hand hewn look and I am pretty happy with the finished pieces. I can't wait to see them installed witch will/ should be simple as trimming to the correct length and nailing in place.[img=null]null[/img]URL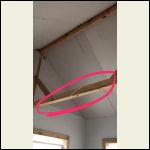
bedroom beam(unfinished)
| 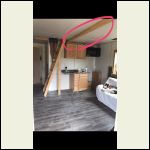
living area beam(unfinished)
|  |  |
|
|
dogfish
Member
|
# Posted: 17 Oct 2019 09:05am - Edited by: dogfish
Reply
living area beam construction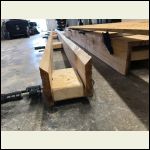
cap sides
| 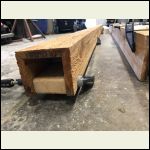
rough cap construction
| 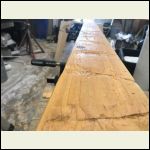
attempt at faux hewing
| 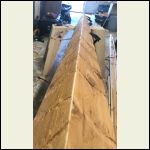
finished beam
|
|
|
dogfish
Member
|
# Posted: 17 Oct 2019 09:09am
Reply
Bedroom beam construction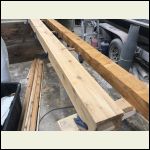
raw cedar
| 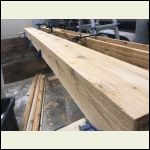
IMG_5213.JPG
| 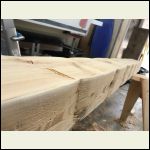
IMG_5222.JPG
| 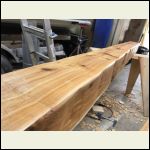
IMG_5224.JPG
|
|
|
dogfish
Member
|
# Posted: 17 Oct 2019 09:12am
Reply
The above cedar caps will be installed over the existing beams.
|
|
dogfish
Member
|
# Posted: 6 Nov 2019 03:11pm
Reply
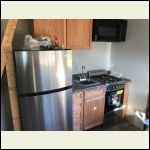
I spent last weekend at the cabin and got a few things done. I installed the beam caps, plumbed the water heater, installed the heat pump but couldn't finish because I was missing a tool but it will only take an hour to finish when I go back. I installed the refrigerator and gas range. A friend stopped in and completed the electrical as I do not have enough experience to do it safely.
The weather was absolutely perfect , high twenties at night and 50's in the day. Below are some pictures of the progress and property.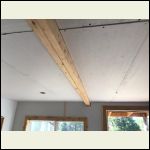
Raw beam livingroom
| 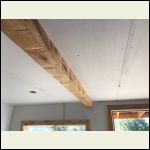
beam cap installed livingroom
| 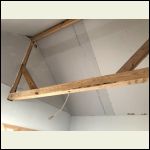
raw beam bedroom
| 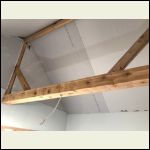
beam cap installed bedroom
|
|
|
dogfish
Member
|
# Posted: 6 Nov 2019 03:14pm - Edited by: dogfish
Reply
appliances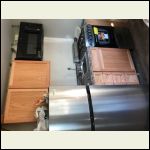
appliances installed
| 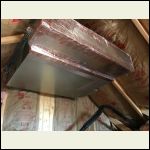
indoor fan coil
| 
IMG_5348.JPG
|  |
|
|
dogfish
Member
|
# Posted: 6 Nov 2019 03:17pm
Reply
The duct had not been connected in the ^^pic but it has been now.
|
|
dogfish
Member
|
# Posted: 6 Nov 2019 03:19pm
Reply
pics of property
|
|
dogfish
Member
|
# Posted: 6 Nov 2019 03:36pm
Reply
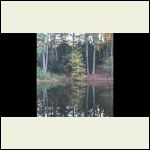
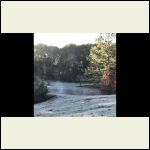
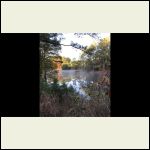
more
IMG_5371.PNG
| 
IMG_5372.PNG
| 
IMG_5373.PNG
| 
IMG_5374.PNG
|
|
|
dogfish
Member
|
# Posted: 6 Nov 2019 03:38pm
Reply
more
|
|
dogfish
Member
|
# Posted: 6 Nov 2019 04:20pm
Reply
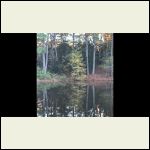
These two pictures are the same spot 39 years apart. The pond is 100 yard below the cabin.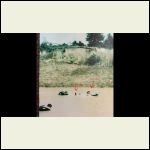
IMG_5376.PNG
| 
IMG_5372_2.PNG
|  |  |
|
|
dogfish
Member
|
# Posted: 7 Nov 2019 07:24am
Reply
Heat pump and water heater.
|
|
sparky30_06
Member
|
# Posted: 7 Nov 2019 08:12am
Reply
What water heater is that?
|
|
dogfish
Member
|
# Posted: 7 Nov 2019 11:07am
Reply
Quoting: sparky30_06 What water heater is that?
Rinnai V65 tank-less
|
|
sparky30_06
Member
|
# Posted: 7 Nov 2019 11:12am
Reply
How many yards is your range? I miss having a range in my back yard
|
|
| << . 1 . 2 . 3 . >> |

