| << . 1 . 2 . |
| Author |
Message |
TomChum
Member
|
# Posted: 15 Feb 2011 01:27
Reply
Quoting: fpw I have many projects lined up and I am itching to get started. Hopefully, spring comes early this year.
Amen to that. I can't wait to get out there too. Having a cabin makes me appreciate the weather, except for mud.
Your cabin looks great.
|
|
fpw
Member
|
# Posted: 19 Mar 2011 22:52
Reply
Excellent weekend at the Stump Ranch.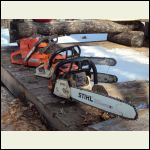
Getting the chainsaws ready for spring.
| 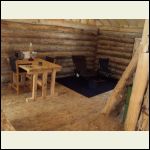
Organizing the cabin, a little.
| 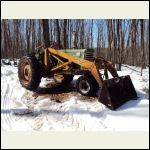
Fired up the Oliver 880.
| 
The 4-dog stove kept things quite warm.
|
|
|
dvgchef
Member
|
# Posted: 19 Mar 2011 23:10
Reply
An amazing project you are working on - hats off to you.
Quoting: fpw The shower is a test rig, I wanted make sure it works. I filled it with water by setting up a scaffold next to the shower. The final version will be a timber framed support structure with a 55 gallon drum at the ground that gets hand pumped up to the shower structure. The hand pump will have an option to add a gallon or two of hot water to the shower drum.
did you get this working? Want to do something similar - actually exactly similar! What kind of hand pump will you/ did you/ use? I'm a newbie to all this - built my first cabin last season with no plumbing and I miss it, especially a hot shower - but don't know too much about plumbing.
Thanks!
|
|
cabingal3
Member
|
# Posted: 20 Mar 2011 01:01
Reply
thats so beautiful.
|
|
fpw
Member
|
# Posted: 20 Mar 2011 10:03
Reply
dvgchef,
Time consuming project, but it keeps me out of trouble.
I have not, yet, finished up the shower. I plan to get that done early in the spring.
A few years back, I used a similar shower. It was very simply. A bucket or drum set up like I have in the photos above. And, then, at ground level that was a 5-gallon bucket with a hand pump piped up to the shower. We pumped up a bucket of cool water, then, we heated, another bucket of water on the sauna stove. When you pumped up the hot water, the shower was ready to go. It worked very well.
|
|
fpw
Member
|
# Posted: 18 May 2011 21:48 - Edited by: fpw
Reply
Weather is great. Bugs are bad. And, of course the wood ticks are out in force. But it sure beats 20 below zero.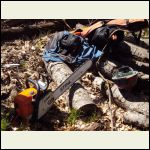
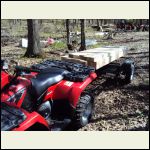
Cutting Some Trees.
| 
Turning trees into beams.
| 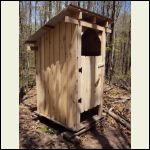
Finished siding the outhouse.
|  |
|
|
fpw
Member
|
# Posted: 9 Jun 2012 11:34
Reply
Spent a few days at the Stump Ranch working on some minor projects.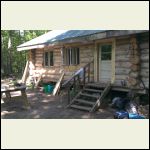
Adding some window and door trim
| 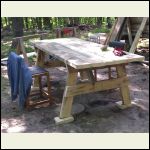
Needed a place to sit outside
| 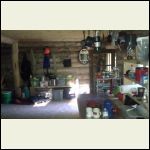
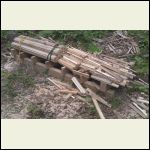
Getting organized
| 
Made a new jig to deal with sawmill slabs
|
|
|
trollbridge
Member
|
# Posted: 11 Jun 2012 15:23
Reply
Love your cozy cabin and all your projects that you just "whip together"! My husband would love to get his hands on your Oliver 880...he's been searching Craigs list high and low looking for a tractor to do some damage with at our place!
|
|
|
fpw
Member
|
# Posted: 12 Jun 2012 20:44
Reply
Good luck on the tractor. I spent 3K for the Oliver. Some of the best money I ever spent.
|
|
fpw
Member
|
# Posted: 16 Nov 2012 19:48
Reply
Lately, it has been quite warm in Minnesota...50 degrees in November, pretty much unheard of; however, it feels good.
This week we were able to spend a day at the Stump Ranch; I fired up the TimberKing and cut a number of Red Oak slabs for winter projects.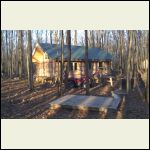
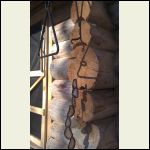
Afternoon Sun
| 
New Wind Chime
| 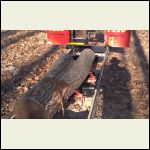
TimberKing 1220
| 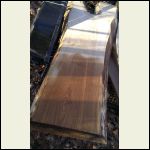
Red Oak Slab
|
|
|
neb
Member
|
# Posted: 17 Nov 2012 20:27
Reply
fpw
What kind of projects do you do with the red oak?
|
|
fpw
Member
|
# Posted: 17 Nov 2012 22:16
Reply
Neb,
I cut this log into 2 and 3 inch slabs that I will use for a tabletop (I need a coffee table at the cabin). Then, using a shaving horse I will make up some legs.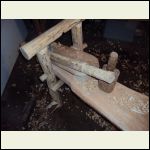
Shaving Horse
| 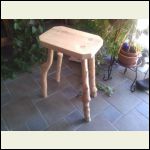
Stool
| 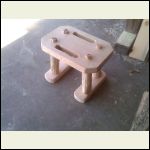
Working on a foot stool
|  |
|
|
leonk
Member
|
# Posted: 20 Apr 2013 15:09
Reply
Hi, love Stump Ranch.
How long did it take to build the walls?
I was also wondering about your walls being constructed on top of the floor..? Why did you go this route?
I wonder if you have comments on the log school you attended? feel free to e-mail to leonkaz at yahoo com
|
|
fpw
Member
|
# Posted: 21 Apr 2013 10:47 - Edited by: fpw
Reply
Leonk,
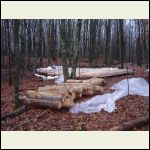
I cut the wall logs for the walls in a field near my house on weekends. It took about a year. Then, I marked the walls so you could put them back together, disassembled the walls and hauled them north to our property. I had to haul them in to the site one at a time with ATV and log arches. I hauled them in late fall so the logs sat covered in snow till spring when I assembled them.
There are many ways to do a foundation for logs, this one worked. Since I have no power at my site and everything has to be done by hand, I elected this route.
I have some additional log cabin building information at the following blog:
http://peelinglogs.blogspot.com/2011/02/liability-release.html
http://peelinglogs.blogspot.com/2011/02/log-cabin-building-information.html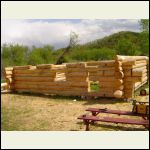
DSC01466.JPG
| 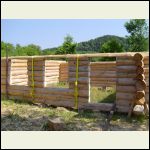
DSC01789.JPG
| 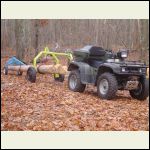
DSC02028.JPG
| 
DSC02038.JPG
|
|
|
leonk
Member
|
# Posted: 21 Apr 2013 11:09
Reply
Thanks.
What kind of wood is that?
Did you use anything as insulation between the logs?
Did you overscribe the lateral grooves?
Thanks
|
|
fpw
Member
|
# Posted: 21 Apr 2013 11:59
Reply
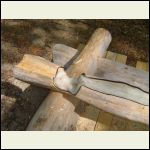
The walls are Red Pine. The roofing system is Aspen. I used Aspen as that is what is available on my property.
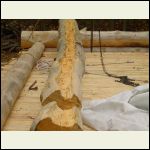
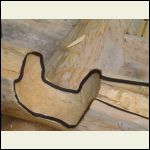
Insulation = EM seal (tar foam strip) and wool rope in the lateral groove and notches.
Lateral grooves are overscribed. A little more on the bottom half of the building a little less on the top 1/2.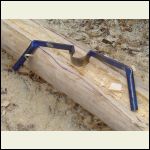
DSC02574.JPG
| 
DSC02327.JPG
| 
DSC02331.JPG
| 
DSC02332.JPG
|
|
|
exsailor
Member
|
# Posted: 22 Apr 2013 08:22
Reply
Interesting tool you have to cut grooves for the insulation in your logs. I have never seen a draw gouge before. Looks like it would be a bear to get the groove started with that much cutting offset.
|
|
fpw
Member
|
# Posted: 22 Apr 2013 13:02
Reply
Exsailor,
You are correct no way you would cut the groove with the handlebar gouge.
I cut the lateral groove with a chainsaw (about 1/4 from scribe line). Whack out the wood with an adze or axe. The handlebar gouge is used to cut the last bit of wood to the scribe line.
|
|
Tobit
Member
|
# Posted: 22 Apr 2013 13:30
Reply
fpw, most excellent work on all the projects on your property.
|
|
fpw
Member
|
# Posted: 6 May 2013 21:13
Reply
Finally made it north this weekend, after shoveling out from 18" of snow in Red Wing, MN last Thursday.
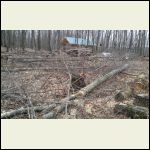
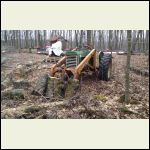
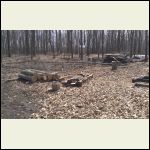
I've been fighting the sawmill for a couple of years now, so I finally decided to clear our some space for storing logs, drying lumber, and providing enough space to move the tractor around.
It will take a another weekend, but once I finish up, I will be quite a bit more efficient running the mill. And, with all the project I have in the works, this will save me a butt-ton of frustration.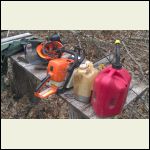
IMAG0739.jpg
| 
IMAG0746.jpg
| 
IMAG0744.jpg
| 
IMAG0749.jpg
|
|
|
trollbridge
Member
|
# Posted: 7 May 2013 09:51
Reply
It was an unreal snowstorm, wasn't it?!? 
I'm glad you made it back to your cabin and I'm excited to see what projects you have up your sleeve 
|
|
| << . 1 . 2 . |

